
The best patio setup for your backyard is the one that matches how you actually live outside, not the one that looks best in a showroom photo. That means figuring out whether you want a space for hosting dinners, unwinding solo, keeping kids busy, or some combination of all three, and then building outward from that answer. Get the layout, surface, shade, and comfort layers right in that order, and everything else falls into place.
Best Patio Setup: Step by Step Plan by Space and Climate

Elise Prescott
10 Jul 2026
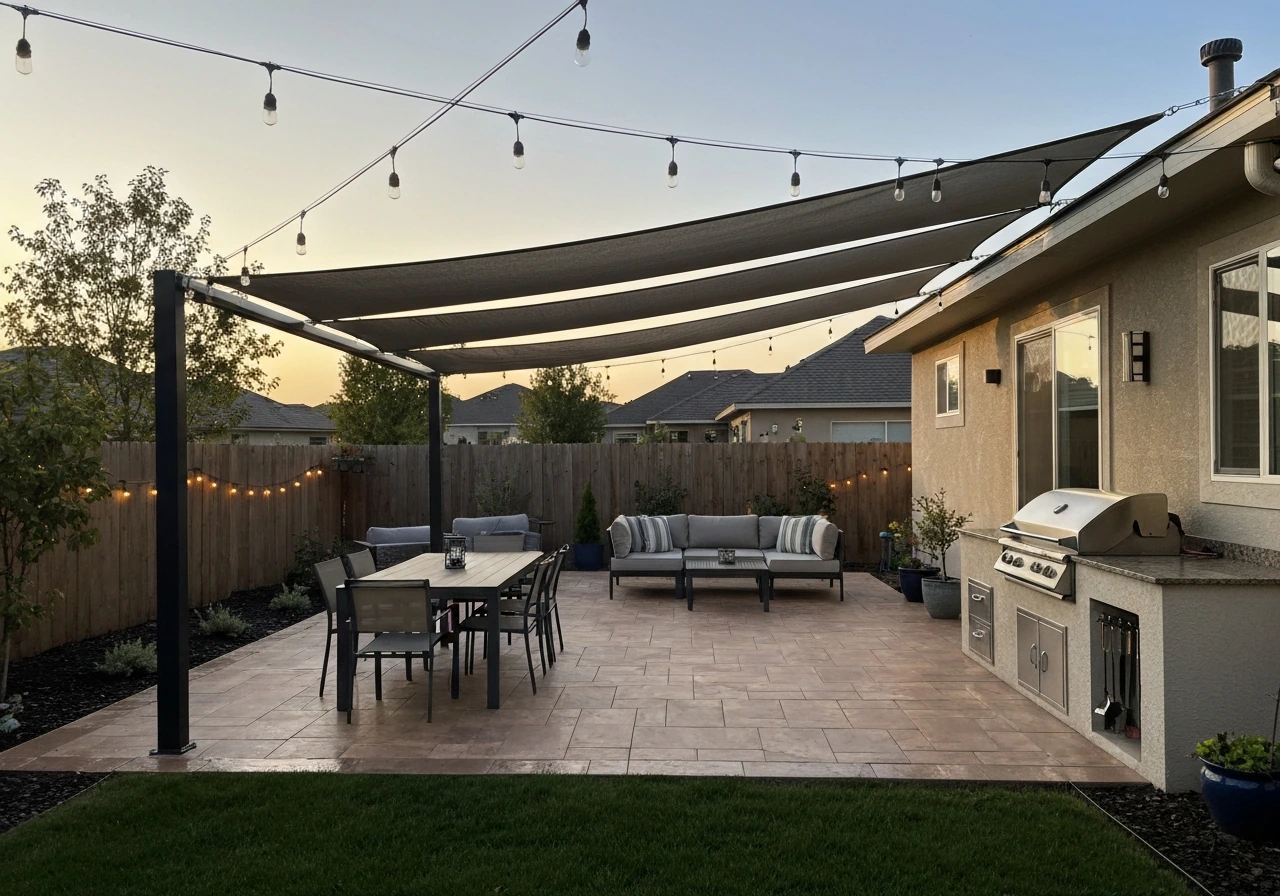
This guide walks you through exactly that process, from blank slab to fully finished outdoor room. If you are planning the best outdoor patio in Atlanta, pay special attention to shade and humidity so the space stays usable through the summer best outdoor patio atlanta.
Start by nailing down your goals and constraints
Before you price a single paver or pergola, spend 20 minutes writing down your honest answers to five questions: How many people do you typically entertain? Do you cook outside? How much direct sun hits the space, and when? Does privacy matter (neighbors, street view)? And what is your realistic all-in budget? These answers will eliminate about half of your material and layout choices before you ever set foot in a home improvement store.
Climate is the other constraint that homeowners consistently underestimate. A misting system and pergola with a louvered roof is an obvious win in Phoenix or Dallas, but it is largely useless in Seattle, where you need covered solid roofing and maybe a propane heater instead. If you are in a freeze-thaw region like Minnesota or Colorado, concrete and paver decisions require specific mix specs and base depths that warmer-climate guides often skip entirely. Know your climate zone before committing to materials.
Privacy and HOA rules are worth a quick check too. Many pergola and shade-sail installations require a permit, and some neighborhoods restrict structure heights or setbacks. It takes one phone call to your building department to find out, and it can save you a demolition notice later.
Layout and zoning: divide the space before you furnish it
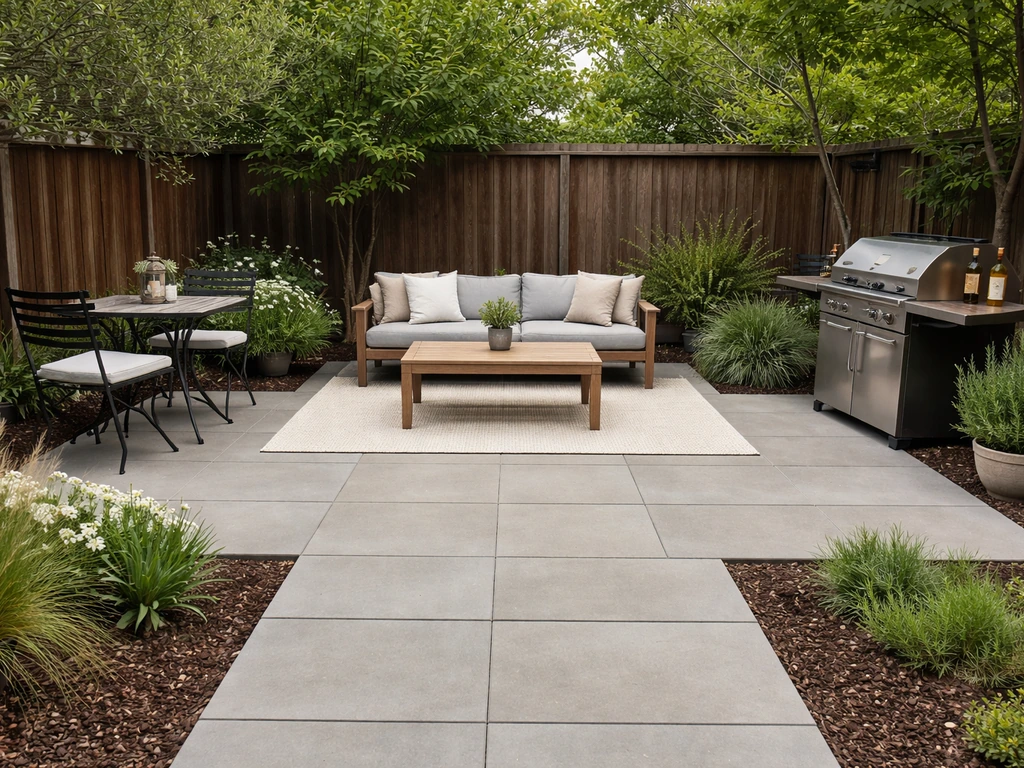
Trying to squeeze dining, lounging, and a grill into one undivided rectangle is the most common reason patios feel chaotic and cramped. The fix is simple: zone intentionally. Once you decide on the right outdoor patio setup, zoning is what keeps dining, lounging, and cooking from feeling crowded zone intentionally. Treat your patio the way a good restaurant treats its floor plan, with distinct areas that flow naturally but serve different purposes.
A practical three-zone layout for a mid-size patio (roughly 300–400 sq ft) looks like this: a dining zone anchored by a table and chairs close to the house for easy kitchen access; a lounge zone with sectional or club seating positioned toward a view or fire feature; and a utility zone at the edge or corner for the grill, a prep cart, and a mini fridge. If you want more guidance, browsing outdoor patio examples by layout and zone can help you visualize what will work in your space. Keep your main traffic aisle at least 48 to 60 inches wide to avoid bottlenecks, and allow a minimum 36 inches of clear pathway around furniture groupings so people can move without squeezing.
If you have a smaller patio (under 200 sq ft), combining the lounge and dining zones into a single flexible space with multi-purpose furniture is smarter than forcing three zones onto a footprint that cannot support them. Large patios over 500 sq ft can add a dedicated chef zone with a built-in grill station, or a fire pit zone positioned far enough from the house (typically 10 feet minimum) for safety and smoke management.
If accessibility matters for your household, the ADA minimum continuous clear width of 36 inches is a good floor for any pathway, not just a legal checkbox. Wider is always better for comfort and furniture rearranging later.
Surface and base materials: what to actually walk on
Your patio surface is the single most permanent decision you will make, so get it right. The three mainstream options are concrete, pavers, and wood or composite decking. Each has a genuinely different cost, maintenance load, and climate performance profile.
Concrete
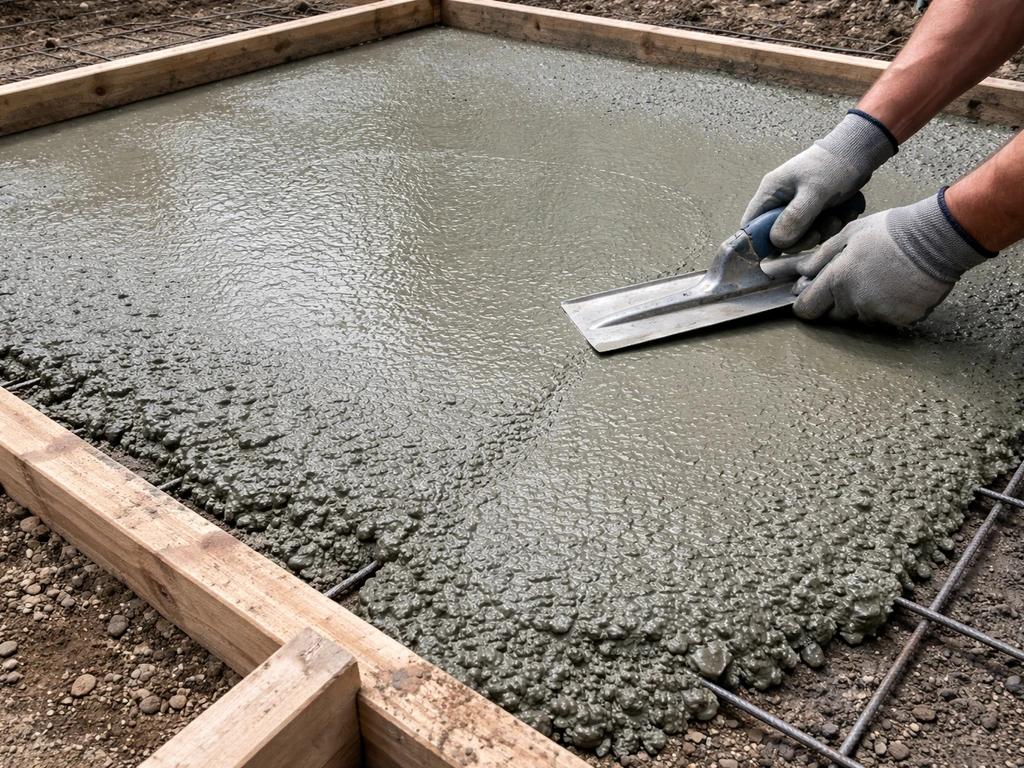
Poured concrete is the most affordable hard surface option upfront. A 20-by-20 foot concrete patio runs roughly $3,200 to $7,200 installed depending on your region and whether you add stamping, color, or texture. Plain broom-finish concrete works fine but looks utilitarian. If you are in a freeze-thaw region, specify air-entrained concrete, because air entrainment is specifically designed to improve freeze-thaw durability by giving water somewhere to expand without cracking the slab. This is not optional in Minnesota, Chicago, or Denver. The downside of concrete is that cracks happen over time and repairs are visible.
Pavers
Concrete or natural stone pavers cost more upfront, typically $4 to $20 per square foot installed depending on material and complexity, but they are easier to repair (individual units replace rather than patch), they drain better than solid slabs, and they look substantially more refined. The key to a paver installation that lasts is the base: you need 4 to 6 inches of compacted granular aggregate and at least 1 inch of bedding sand, sloped at roughly 1 inch per 4 feet for drainage. Cutting corners on base depth is the number one reason paver patios shift, heave, and look terrible after two winters.
Decking
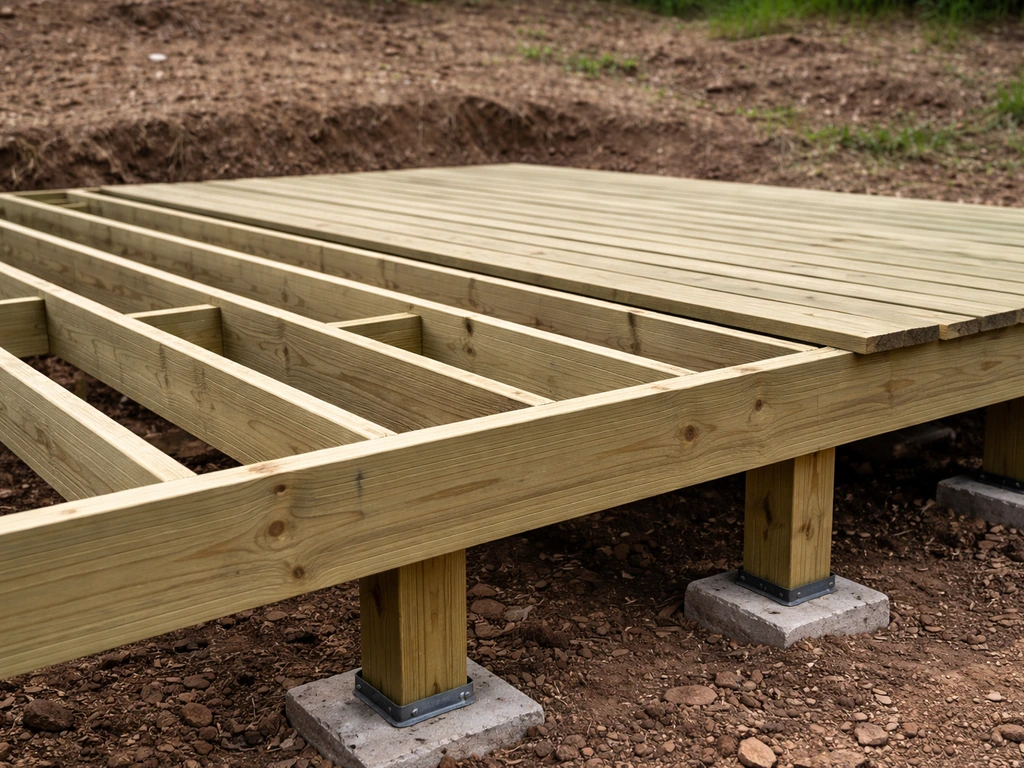
Pressure-treated wood, cedar, and composite decking make sense when you have grade changes, need to span over roots or uneven ground, or simply want a warmer aesthetic. Composite decking (brands like Trex or Fiberon) has dramatically improved in quality and now resists fading, staining, and moisture far better than it did a decade ago. The trade-off is higher upfront cost versus wood, though the lower maintenance over 20-plus years often makes it cheaper in total.
| Material | Installed Cost (approx.) | Durability/Lifespan | Maintenance | Best Climate Fit |
|---|---|---|---|---|
| Concrete (plain) | $8–$18/sq ft | 20–30 years with cracks | Low (seal every 2–3 yrs) | Warm/dry; use air-entrained in freeze-thaw zones |
| Concrete pavers | $10–$20/sq ft | 25–50 years | Low-moderate (re-sand joints) | All climates with proper base |
| Natural stone pavers | $15–$30+/sq ft | 50+ years | Low (sealing optional) | All climates; avoid porous stone in freeze zones |
| Pressure-treated wood deck | $15–$25/sq ft | 15–25 years | Moderate (stain/seal annually) | Humid/mild; not ideal for intense sun |
| Composite decking | $25–$45/sq ft | 25–30+ years | Very low | All climates; check heat absorption in full sun |
Shade, weather protection, and climate control
This is where most patio setups either succeed or fail. A beautiful surface with nowhere to escape the sun or rain means you stop using the space by July. Getting shade and climate control right transforms a patio from a place you visit occasionally into a room you actually live in.
Pergolas and covers
A standard wood or vinyl pergola gives partial shade and a framework to hang string lights, fans, and curtains. Expect to pay roughly $2,118 to $6,435 for a professionally installed 100-square-foot structure, or about $30 to $60 per square foot for larger builds. For full weather protection, add a polycarbonate roof panel kit, a motorized fabric canopy, or step up to an aluminum louvered pergola system. Automated louvered pergola systems (where slats tilt open and closed with a remote) can run $25,000 or more at the high end, but they are genuinely the most functional all-weather cover you can put over a patio if budget allows.
Shade sails and awnings
Shade sails are a lower-cost option that can look sharp when tensioned correctly. Budget fabric sails last 3 to 5 years; mid-range sails last 5 to 8 years; commercial-grade HDPE fabric can last 10 to 15 years. Buy the best fabric you can afford and invest in proper hardware for the anchor points, because a poorly anchored sail in a windstorm is a liability. Retractable awnings sit between sails and pergolas in terms of cost and ease, and they are a good choice for homeowners who want flexibility without a permanent structure.
Misting systems and outdoor fans
In hot, low-humidity climates (the Southwest, parts of Texas and the Southeast), an outdoor misting system can drop perceived temperature by 10 to 20 degrees. High-pressure misting systems run off your home water supply and push water through fine nozzles at 1,000 PSI or more; the mist evaporates before it wets surfaces or furniture. Maintenance is straightforward: soak nozzles in vinegar periodically to dissolve mineral buildup, use inline filtration if you have hard water, and drain the system before freezing weather to protect the tubing and fittings. In humid climates, misting adds moisture to already-saturated air and is less effective.
Ceiling fans make a big difference under covered patios. Choosing the best fans for an outdoor patio also means matching the rating to your setup, whether it is a covered pergola or an open area Ceiling fans. If your patio is under a pergola or covered structure, mount a fan rated for that specific exposure.
A UL damp-rated fan is appropriate for covered patios with no direct rain contact; a UL wet-rated fan is required for open pergolas or anywhere rain can hit the motor directly. Never install a dry-rated fan outdoors, even under a roof overhang. The Big Ass Fans Haiku L is a popular wet-rated option, but any fan with a genuine UL wet listing at the appropriate blade span will work.
Curtains and wind breaks
Outdoor curtain panels hung from a pergola or mounted track add privacy, reduce wind, and soften the aesthetic of an otherwise bare structure. Use solution-dyed acrylic or marine-grade fabric; cheap polyester curtains fade and mold within a season. In windy or cool regions, a solid semi-permanent wind screen (bamboo panels, wood lattice, or clear polycarbonate) is more effective than curtains and allows you to extend the season into spring and fall.
Lighting, power, and the smart stuff
Outdoor lighting does more for patio ambiance than almost any other single upgrade, and it is also one of the most underplanned elements. The key is layering: overhead string lights or a ceiling fixture for general brightness, path and step lighting for safety, and accent lighting (uplights on plantings, under-furniture glow) for atmosphere.
String lights specifically: if you want them year-round, buy lights that meet UL 588 Supplement SD, which was added in 2017 specifically to address factory-assembled, parallel-connected string lights intended for all-year outdoor use up to 120V. Cheap string lights sold for seasonal indoor/outdoor use are not rated for permanent installation and can fail or create a hazard in wet conditions.
For power, all outdoor circuits require GFCI protection per the NEC. Receptacles exposed to rain or splashing need weatherproof in-use covers (sometimes called bubble covers) that keep the enclosure weatherproof even with a plug inserted. If you are running new circuits from your panel to the patio, burial depth matters: direct-buried cable typically needs 24 inches; PVC conduit requires 18 inches; rigid metal conduit can go as shallow as 6 inches. Low-voltage landscape lighting at 30V or less also has burial depth requirements under NEC 300.5. Unless you are a confident DIYer with solid electrical knowledge, this is one area where hiring a licensed electrician is worth every dollar.
For entertaining tech, outdoor-rated speakers and a weatherproof TV mount can make a covered patio feel like a proper outdoor living room. Look for speakers with an IP65 or higher rating. For a TV, mount it under a covered area and use a screen with an ambient light rejection coating if it faces any direct sun. Smart home integration (controlling lights, speakers, fans, and misting from one app or voice assistant) is now genuinely affordable and reliable through platforms like Google Home, Amazon Alexa, or Apple HomeKit using outdoor-rated smart switches and plugs.
Comfort upgrades that make the space feel finished
The difference between a patio that looks done in a photo and one that feels comfortable to actually sit in comes down to a few finishing layers: rugs, heating, and upholstery that hold up to the weather.
Outdoor rugs
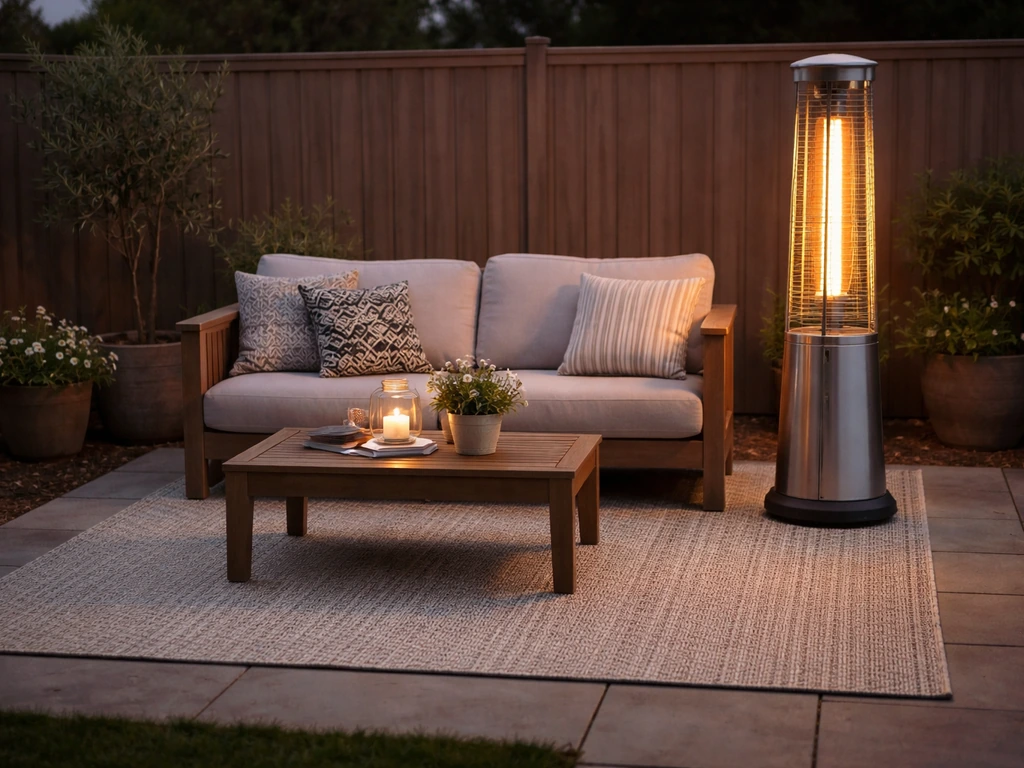
An outdoor rug anchors a seating zone visually and makes bare concrete or pavers feel less industrial. Stick with 100% polypropylene rugs, which resist mold, mildew, UV fading, and moisture far better than natural fiber alternatives. Check the spec sheet for UV protection, fade resistance, and water resistance ratings before buying. For patios that stay wet or hold humidity (Florida, Pacific Northwest), make sure to lift and dry the rug periodically to prevent mold growth underneath.
Heaters for cooler climates
If you want to use your patio in fall and shoulder-season evenings, a heater is not optional. Propane freestanding patio heaters are the most portable and require no installation. Electric infrared heaters mounted overhead (on a pergola beam or wall) provide targeted, wind-resistant warmth and are the cleaner choice for covered structures. For any mounted heater, verify the clearance-to-combustibles requirement from the manufacturer; most infrared gas-fired units specify minimum clearances above and around the unit. Keep the area under any overhead heater free of fabric, curtains, or stored items. In colder climates, consider a wood-burning or gas fire pit as a dual-purpose heat and ambiance feature.
Seating and cushions
Teak, powder-coated aluminum, and all-weather wicker (resin wicker over aluminum frames) are the three most durable seating materials for outdoor use. Cushion fabric should be Sunbrella or an equivalent solution-dyed acrylic that resists fading, mold, and moisture. Avoid polyester-fill cushions in humid climates; they retain moisture and develop mold inside the foam core faster than you expect.
Recommended setups by scenario
No single configuration is the best patio setup for everyone. Here is what actually works well by common situation:
| Scenario | Surface | Shade/Cover | Climate Control | Key Extras |
|---|---|---|---|---|
| Hot, sunny climate (AZ, TX, CA desert) | Concrete pavers (light color) | Louvered pergola or solid shade sail | High-pressure misting + ceiling fan (wet-rated) | Outdoor curtains, string lights, propane or electric heater for winter evenings |
| Humid/rainy climate (FL, Pacific NW, Gulf Coast) | Concrete pavers or composite deck | Solid roof cover or attached patio cover | Ceiling fan (wet-rated), no misting | Water-resistant rugs, covered outlet boxes, drainage planning |
| Freeze-thaw/cold climate (MN, CO, Chicago) | Air-entrained concrete or interlocking pavers with deep base | Pergola + clear polycarbonate roof panels | Propane fire pit + overhead infrared heater | Wind screen panels, weather-resistant curtains, furniture storage plan |
| Small urban patio (under 200 sq ft) | Large-format pavers or composite deck tiles | Cantilever umbrella or wall-mounted retractable awning | Small fan, no misting | Multi-purpose furniture, vertical planters, surface-mount string lights |
| Large backyard entertainer (400+ sq ft) | Natural stone or paver patio | Freestanding pergola with fan + louvered roof | Misting system + multiple fans | Outdoor kitchen zone, fire pit zone, in-ground wiring, outdoor speakers |
Budgeting and knowing when to DIY versus hire a pro
Budget honestly before you start. A basic functional patio (concrete surface, freestanding umbrella, simple furniture, string lights on a timer) can be done for $2,000 to $5,000 with a lot of DIY labor. A mid-range setup with pavers, a pergola, and ceiling fans typically runs $10,000 to $20,000 depending on size and region. A premium setup with a louvered pergola, built-in kitchen, outdoor speakers, and in-ground wiring can push $40,000 to $80,000-plus. Knowing which tier you are building to before you start prevents the most common patio mistake: spending $3,000 on furniture before you have a structure that makes sitting outside actually comfortable.
DIY-friendly tasks
- Laying pavers on a pre-excavated and compacted base (if you are comfortable with grading and tamping)
- Assembling a freestanding pergola kit from a big-box retailer
- Installing low-voltage landscape lighting and string lights
- Mounting outdoor speakers on existing structures
- Setting up a freestanding misting system with garden hose connection
- Placing furniture, rugs, curtains, and planters
Hire a professional for these
- Any 120V outdoor electrical circuit work, including new outlet installations and panel upgrades (GFCI, conduit burial, permit pulls)
- Structural pergola or patio cover attachment to the house (requires proper ledger bolting and often a permit)
- Concrete pouring and finishing, especially stamped or decorative work
- Drainage improvements or French drain installation if your yard slopes toward the house
- Permit-required projects (structures over certain square footage, attached covers, gas line extensions for outdoor kitchens)
The rule of thumb: if the mistake would cost more to fix than the professional would charge to do it right, hire the professional. That almost always includes electrical, concrete, and anything attached to your house's structure. Everything else is a judgment call based on your skill level and how much your time is worth.
Your action checklist to move forward today
- Write down your primary use case (entertaining, relaxing, cooking, kids) and realistic budget tier
- Measure your patio footprint and sketch a rough zone layout with dining, lounge, and utility areas
- Check your local climate zone and decide whether freeze-thaw concrete specs, misting, or solid weather cover is your first priority
- Choose your surface material and get at least two contractor quotes if you are not doing it yourself
- Plan your shade structure (umbrella, sail, or pergola) before buying any furniture
- Identify your power needs: string lights only, or a full circuit with outlets and ceiling fans
- Call your building department to confirm permit requirements for your planned structure
- Get quotes from vetted local contractors for any electrical, structural, or drainage work
- Buy furniture and soft goods (rugs, cushions, curtains) last, once the structure and surface are confirmed
The best patio setup is not a single product or a single look. It is the combination of surface, structure, climate control, and comfort that matches how you actually live and what your specific backyard and climate demand. A best outdoor patio balances layout, shade, and comfort so the space gets used all season. Work through the steps above in order, and you will end up with a space that gets used every week instead of sitting empty all summer.
FAQ
How do I choose shade placement if my sun pattern changes through the seasons?
Start from your “comfort hours,” not the calendar. Mark the times you are most likely to use the patio (for example, 6 to 9 pm after work), then design shade for those hours. A lot of patios get full sun at the wrong time, so a pergola or umbrella placed for midday glare can still leave dinner uncomfortable at sunset.
What’s the biggest mistake people make with patio drainage?
If rain is common, prioritize drainage before aesthetics. For pavers, use the recommended compacted base and proper slope (about 1 inch per 4 feet). For concrete, make sure the patio surface slopes away from the house, and consider a surface finish or sealer system rated for freeze-thaw (if you are in that climate) to reduce water infiltration and surface wear.
Do I need to seal my patio surface, and how do I know which areas matter most?
Use waterproofing where water actually shows up. Seal or protect porous surfaces like pavers and concrete based on their manufacturer guidance, but do not assume every patio material needs the same products. Also plan an easy way to remove standing water from the seating zone, for example by keeping furniture on the higher, drier side of your patio.
How can I avoid buying patio furniture that won’t fit the traffic flow?
Measure at least two “real-life” furniture clearances before buying. Keep the walking aisle wide (48 to 60 inches is a good target) and also check the door swing from the house. If people will carry plates or drinks, add a bit more clearance around the grill and between the dining table edge and any adjacent seating.
When should I run electrical and low-voltage wiring for the patio (before or after the surface)?
Plan the power and low-voltage early, then treat them like infrastructure. For example, decide whether you want string lights, a TV, and outdoor speakers, then map where the outlets or junction points will be. Many patios end up looking great but have extension-cord clutter because exterior circuits were never planned during the surface and framing phase.
What’s the best way to handle outdoor rugs in humid climates?
For outdoor rugs, treat them like seasonal items in humid or rainy climates. Choose UV-rated polypropylene, then lift and dry the rug periodically to prevent mold underneath. If you want less maintenance, look for rug designs that allow air circulation beneath and keep the rug from trapping water against furniture legs.
How do I place an outdoor heater safely under a pergola?
If you will be using a heater under a roof, confirm clearances and keep combustible items out of the heat zone. For gas-fired infrared units, manufacturers specify minimum clearance to nearby materials, including curtains, pergola components, and stored items. Also check that the heater location will not interfere with ceiling fans or airflow patterns.
Are UL damp-rated patio fans ever acceptable under pergolas?
Match the fan rating to the exposure, and also plan how you will mount it to avoid moisture issues. A UL wet-rated fan is for where rain can reach the motor, while UL damp-rated is for protected areas. Do not rely on “looks covered,” use the actual exposure conditions where the fan will be mounted.
What maintenance does a misting system need, and when does it stop being effective?
If your misting setup is for cooling, it needs maintenance discipline. Use vinegar cleanouts for nozzles to handle mineral buildup, consider inline filtration with hard water, and drain the system before freezing weather. Also understand that misting is less effective in high humidity because evaporation does not lower perceived temperature as much.
What should I fund first, furniture or structural features, to avoid wasting money?
Budget for bigger structural and finishing items before the fun stuff. A common mistake is buying expensive seating and dining pieces when the patio still lacks reliable shade, usable drainage, and power access. Set aside contingency for the “invisible comfort” items, like proper base prep, compliant electrical, and correct surface slope, then buy furniture after those are locked in.
Can I upgrade an existing patio, or should I start over from scratch?
Yes, but the best approach depends on your starting point. If you already have a slab, you can often improve usability with zoned furniture, shade, and upgrades like outdoor curtains, lighting, and a heater. If the slab has poor slope or cracks that allow water pooling, it may be smarter to address drainage and surface condition before spending on fixtures that assume a dry, stable base.
If I build for accessibility, what besides the 36-inch path should I check?
In accessibility planning, clear width is not the only constraint, turning space matters too. Even if you have a continuous 36-inch path, narrow door thresholds or tight furniture angles can block a wheelchair turn. Plan gentle turns where the path meets the dining or grill zone and keep the route consistent from entry to the main seating area.