Rob Parker's Best Patio Sealer is a real product, not just a recommendation from someone named Rob Parker. It's a penetrating, breathable sealer designed for porous outdoor surfaces like concrete, natural stone, and pavers, and it works by forming a protective repellent layer that resists both oily and water-based stains. If you landed here expecting a celebrity endorsement or a YouTube review, that's understandable, but what matters most is whether this sealer, or any sealer in its category, is actually right for your specific patio. That depends on your surface material, your climate, and whether your patio already has an old sealer on it.
Rob Parker Best Patio Sealer: How to Choose and Apply

Elise Prescott
14 Jun 2026
What 'Rob Parker's Best Patio Sealer' actually is (and how to verify it fits your patio)
Rob Parker's Best is a UK-based brand that sells a range of surface protection products, including their flagship patio sealer. The product is marketed for any porous or permeable surface, indoors or out, covering concrete, stone, pavers, and brick. The brand publishes a Technical Data Sheet and a full Safety Data Sheet (SDS/MSDS) you can download from their product page, and those documents are worth reading before you buy, especially to confirm compatibility with your specific surface.
If you found a reference to 'Rob Parker's best patio sealer' in a forum post, YouTube video, or home improvement article, it's worth double-checking that the person was genuinely recommending this specific brand, not just using a generic phrase like 'the best patio sealer I've found.' Either way, your decision should be based on whether the sealer's properties match your patio, not the recommendation alone. Here's how to do that.
Start here: identify your patio material and current condition
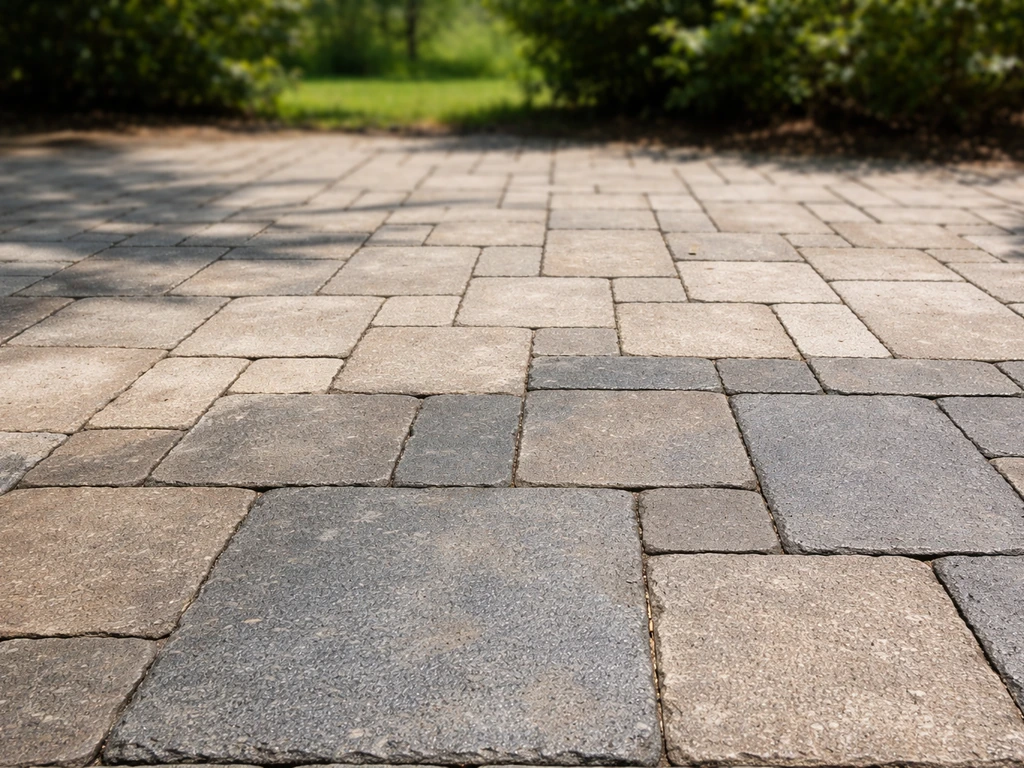
Before you buy anything, spend five minutes figuring out what you're working with. The wrong sealer on the wrong surface can cause peeling, hazing, or trapped moisture, and those problems are a pain to fix. Most patios fall into one of these categories: standard concrete, stamped or decorative concrete, natural stone (sandstone, limestone, slate, granite), clay or concrete pavers, or brick. Each one absorbs sealers differently and has different finish and breathability requirements.
Run a quick water-bead test
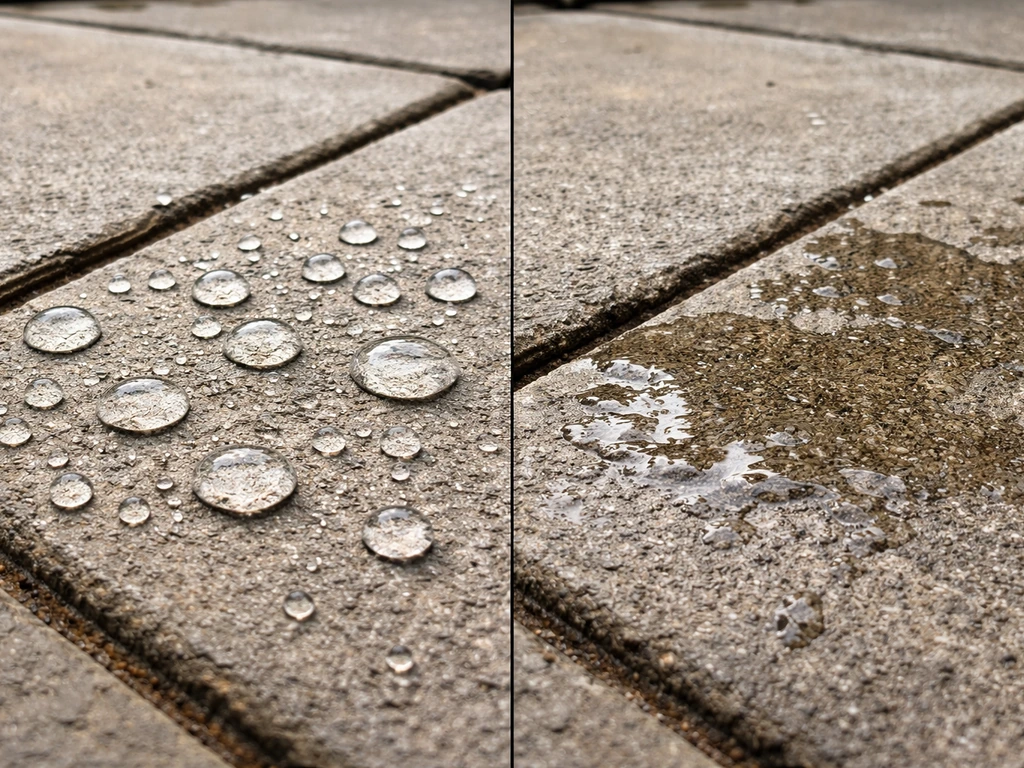
Splash a small amount of water on a few spots across your patio. If it soaks in within 30 to 60 seconds, the surface is unsealed and ready to absorb a new sealer. If it beads up and sits on top, there's already an active sealer on the surface. If it partially soaks in and partially beads, the existing sealer is worn and patchy. That last scenario is the trickiest because applying a new sealer over a partially worn one can cause adhesion problems and uneven appearance.
Also look for white powdery deposits (efflorescence), dark staining, moss or algae growth, and any spalling or cracking. All of these need to be addressed before sealing. Sealing over problems doesn't fix them, it locks them in.
Choosing the right sealer type: penetrating vs film-forming, water-based vs solvent
This is where a lot of homeowners get tripped up, and it's honestly the most important decision you'll make. Rob Parker's Best Patio Sealer falls into the penetrating, breathable sealer category, which means it soaks into the surface rather than sitting on top as a film. That's a key distinction.
| Sealer Type | How It Works | Best For | Finish | Breathability |
|---|---|---|---|---|
| Penetrating/Impregnating (e.g., Rob Parker's Best) | Soaks into pores, repels water and oil from within | Natural stone, pavers, concrete, brick | Natural or low sheen | High, allows moisture vapor to escape |
| Film-Forming (Acrylic/Epoxy) | Sits on top as a coating layer | Stamped concrete, decorative concrete | Gloss, satin, or wet-look | Low, can trap moisture |
| Water-Based Acrylic | Thin film on surface | General concrete, lighter duty | Satin to gloss | Moderate |
| Solvent-Based Acrylic | Deeper penetration than water-based acrylics | Dense concrete, aggregate surfaces | High gloss or wet look | Low to moderate |
For most natural stone and paver patios, a penetrating sealer like Rob Parker's Best is the right call. It won't change the appearance much, it lets the surface breathe so you avoid trapped moisture and efflorescence, and it resists staining without making the surface slippery. If you want a high-gloss wet-look finish on stamped concrete, you'll need a film-forming acrylic instead. Penetrating sealers won't give you that look.
On the water-based vs solvent question: water-based sealers are easier to apply, lower odor, and dry faster, making them more DIY-friendly. Solvent-based options tend to penetrate denser surfaces more effectively but require better ventilation and more careful application. Rob Parker's Best is applied without diluting, using a low-pressure sprayer, roller, or brush, which puts it in accessible DIY territory.
Weather and climate: what your sealer needs to handle
Where you live changes everything. A sealer that works great in Southern California will struggle in Minnesota, and vice versa. Here's what to prioritize based on your climate:
- Hot, sunny climates (Texas, Arizona, Southern states): UV resistance is critical. Look for sealers that specifically mention UV stability, otherwise the sealer breaks down fast and you'll be reapplying every year.
- Freeze-thaw climates (Upper Midwest, Colorado, New England): Breathability is non-negotiable. Water gets into concrete, freezes, expands, and causes spalling. A breathable penetrating sealer lets that moisture vapor escape instead of trapping it where it can do damage.
- Humid climates (Southeast, Pacific Northwest): Mold, mildew, and algae resistance matters. Look for sealers that include biocide protection or pair your sealer application with a biocidal pre-treatment wash.
- All climates: Slip resistance matters, especially around pools or in areas that get wet. Penetrating sealers generally don't increase slipperiness the way high-gloss film-forming sealers can, but always check the product specs.
- Coastal areas: Salt spray and chloride exposure can degrade some sealers faster. Check that the product is rated for saline environments if you're within a few miles of the ocean.
Rob Parker's application instructions specifically say not to apply in rainy or frosty weather, which is good practice for any sealer. Surface temperature and ambient conditions at the time of application directly affect how well the product cures. Most sealers need surface temps between about 5°C and 25°C (roughly 40°F to 77°F) and a dry window of at least 24 hours.
Step-by-step prep and application
This is where DIY projects succeed or fail. Prep is boring but it's 80% of the result. Skip it and you'll be dealing with peeling and hazing within a season.
- Clear the patio completely. Move furniture, planters, and anything else off the surface. Mask off any areas you don't want sealer on, including wall bases, drainage channels, and metal fixtures.
- Clean the surface thoroughly. For general dirt and grime, a pressure wash at 1500 to 2000 PSI works well. For biological growth (moss, algae, lichen), use a dedicated biocidal cleaner and let it dwell for the recommended time before rinsing. For oil stains, use a degreaser. If there's efflorescence (white powdery deposits), use a diluted acid wash or a proprietary efflorescence remover, then rinse thoroughly and neutralize. Allow the surface to dry completely, which typically means 24 to 48 hours minimum depending on weather.
- Repair cracks and spalling. Fill any cracks wider than a hairline with a flexible concrete repair mortar. Let repairs cure fully before sealing, usually 48 to 72 hours. Sealing over fresh repairs that haven't cured will cause adhesion failure.
- Check for old sealer. If the water-bead test showed existing sealer, you need to either strip it with a chemical sealer remover or confirm the new product is compatible with what's already there. Layering incompatible sealers is a common cause of peeling.
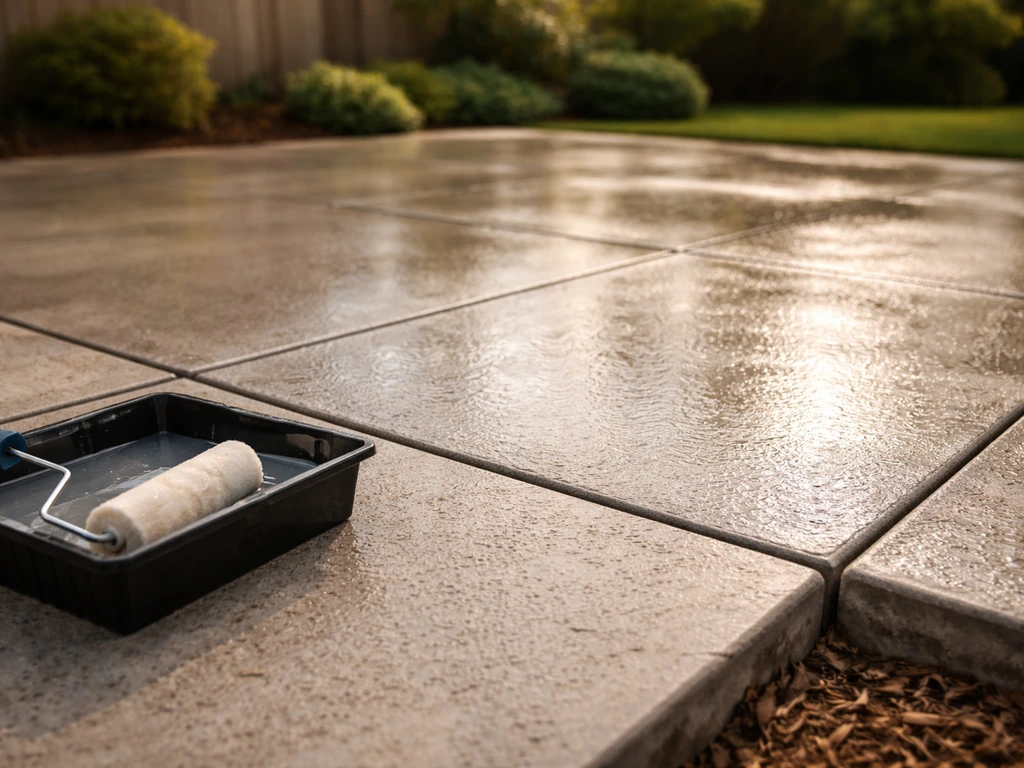
- Apply the sealer. For Rob Parker's Best, the instructions call for saturating the surface, which means applying generously so the product can penetrate fully. Use a low-pressure garden sprayer for large areas (it's faster and more even), or a roller or brush for smaller sections or edges. Do not dilute the product.
- Remove excess product. About 30 minutes after application, check for any pooling or excess product and remove it with a dry cloth or sponge. This step is critical for penetrating sealers because any excess that sits on the surface will dry as a sticky or hazy residue.
- Allow to cure. Rob Parker's Best lists a drying time of up to 24 hours. Keep foot traffic off the surface during this period and keep it dry. Full cure for chemical resistance typically takes longer, often 48 to 72 hours, before the surface is ready for furniture and normal use.
Coverage rates, cost, and how long it actually lasts
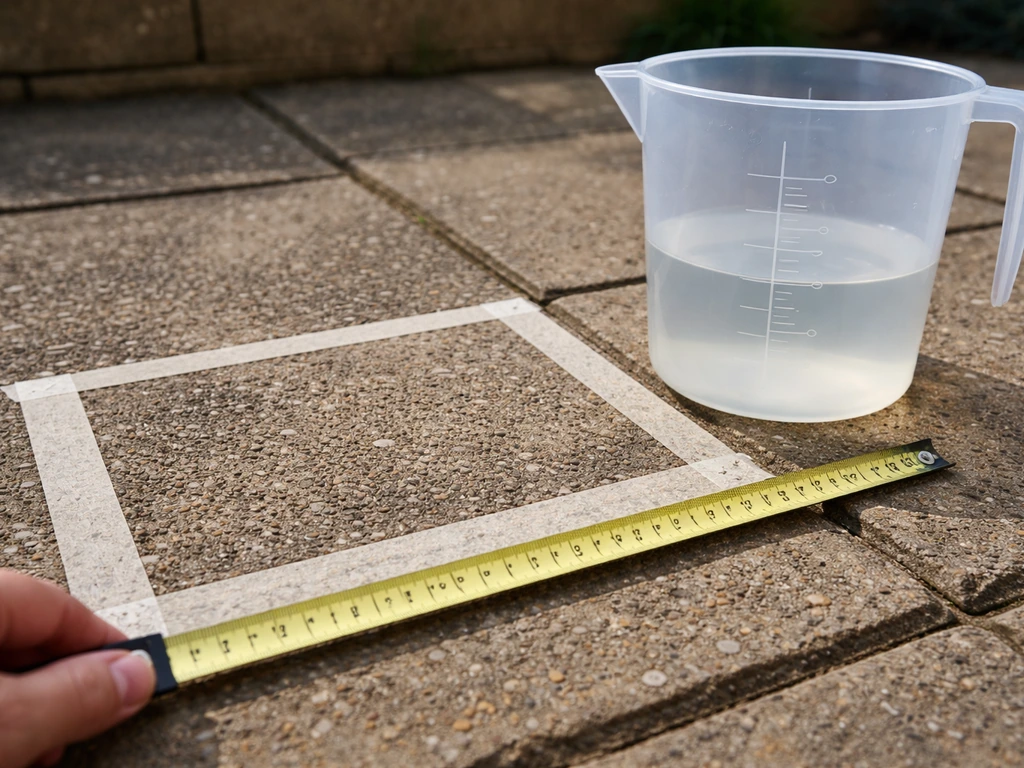
Rob Parker's Best Patio Sealer covers approximately 6 to 8 square meters per litre per coat on typical porous surfaces. More absorbent or textured surfaces will use more product, so measure your patio area and calculate conservatively, rounding down coverage to make sure you buy enough. Running short mid-application and having to rush to the store is how you end up with lap marks.
On cost, patio sealers broadly fall into two tiers. Budget options run roughly £10 to £15 per litre (or $15 to $20 USD equivalent), while mid-range to premium products land between £20 and £40 per litre. For a typical 30 to 50 square meter patio needing two coats, you're looking at somewhere between £75 and £200 in product alone, depending on what you buy and how porous your surface is.
How long a sealer lasts depends on foot traffic, UV exposure, and the product itself. Penetrating sealers on natural stone and pavers typically last two to five years before recoating is needed. Film-forming acrylics on concrete often need recoating every one to three years because they wear from the surface. The water-bead test is your best maintenance indicator: when water stops beading and starts soaking in, it's time to reseal. You don't need to strip and start over each time if the original sealer is compatible, just clean the surface and apply a fresh coat.
Troubleshooting: how to fix the most common sealer problems
Even when you do most things right, things can go sideways. Here are the issues I hear about most often and what actually fixes them:
| Problem | Likely Cause | Fix |
|---|---|---|
| White haze or milky film | Excess sealer not removed, moisture trapped, or product applied too thick | Apply a thin coat of the same solvent-based sealer over the haze to re-emulsify it, or use a chemical sealer stripper and start over |
| Peeling or flaking | Old incompatible sealer beneath, surface not clean/dry, or film-forming sealer on a damp surface | Strip completely with a sealer remover, prep from scratch, reapply |
| Uneven sheen or dark patches | Uneven application, surface absorbed product inconsistently, or product applied over dirty spots | Apply a second even coat after the first has cured; if severe, strip and reapply |
| Bubbling during application | Surface was damp, product applied in hot sun, or surface off-gassing | Strip affected areas, wait for cooler temps and dry conditions, reapply |
| Slippery surface after sealing | Film-forming sealer (especially gloss) on smooth stone or concrete | Apply an anti-slip additive (fine silica sand) mixed into the topcoat, or switch to a penetrating sealer next cycle |
| White powdery deposits returning (efflorescence) | Moisture moving through the slab carrying salts to the surface | Remove with diluted acid wash, identify and address moisture source, use a breathable penetrating sealer |
DIY vs hiring a pro: an honest take
For most standard patios under about 50 square meters with no existing sealer, this is a solid DIY project. Sealing a patio yourself saves $200 to $600 in labor costs and the application process is genuinely manageable if you follow the prep steps. Where it gets complicated, and where pros earn their fee, is in a few specific situations:
- Large patios over 80 to 100 square meters: Consistent application across a big area is harder than it sounds, especially if the sealer has a working time before it starts skinning over. Professionals have commercial sprayers and the speed to keep a wet edge.
- Surfaces with existing sealer that needs stripping: Chemical stripping is messy, time-consuming, and requires the right product for the existing sealer type. Misjudge it and you create more problems.
- Heavily stained or cracked surfaces: Proper surface prep on a neglected patio can take longer than the sealing itself. Pros know what level of prep each surface actually needs.
- Premium or expensive natural stone: Seal the wrong way on limestone or sandstone and you can permanently discolor it. If you paid a lot for the stone, the cost of a professional application is good insurance.
- Ongoing maintenance contracts: Some local sealing contractors offer recoat schedules every two to three years at a discounted rate, which is worth considering for larger patios.
If you do hire a pro, ask them specifically: what product they're using and why, whether they'll do a patch test first, how they handle surface prep (especially old sealers), and what their recoat guarantee looks like. A good contractor will bring a sample of the finish for your approval before doing the whole surface.
Your next steps right now
Here's the practical sequence to get this done without second-guessing yourself. Take a photo of your patio in good light and measure the square footage or square meters. Do the water-bead test in three or four spots to confirm whether you have an existing sealer and how worn it is. Identify your surface material, concrete, pavers, natural stone, or brick, and check whether you want a natural finish (penetrating sealer) or a sheen (film-forming). Then pick your product based on those answers, not just a recommendation from an online search.
If Rob Parker's Best Patio Sealer matches your surface type (porous stone, concrete, or pavers) and you want a breathable, natural-finish protection without changing the look, it's a legitimate and well-documented option with a proper TDS and SDS available. If you want a wet-look gloss on stamped concrete or need UV-boosted protection in a harsh sun climate, you'll want to look at film-forming acrylic sealers instead. Either way, you now know how to make that call yourself rather than just taking someone else's word for it.
If you want to compare Rob Parker's Best against other popular sealer brands and categories, including Thompson's Water Seal and Smart Seal Patio Perfect, there are detailed reviews and comparisons worth reading before you commit to a product. If you’re specifically looking for Thompson patio sealer reviews, compare how that product performs on your surface type and whether it’s penetrating or film-forming Thompson's Water Seal. The broader category of best patio sealers is also worth scanning if you want a full side-by-side of penetrating vs film-forming options across different price points. If you want to compare the broader category beyond sealers, look at what makes the best patio coating suitable for your surface and climate. If you want a quick answer for what to buy, compare penetrating vs film-forming sealers and then pick the one best suited to your surface and UK weather best patio sealant UK. That category guide can help you compare penetrating versus film-forming options and pick the right sealer for your exact patio surface the broader category of best patio sealers is also worth scanning.
FAQ
Can I apply rob parkers best patio sealer over paint, stain, or a previous penetrating sealer that still looks intact?
Don’t assume compatibility just because water soaks in. Painted or stained surfaces, and some tinted or enhanced coatings, can repel water and prevent proper penetration. If the water test fully beads, you likely need removal or a compatibility-approved approach. If it partially beads, patching can look blotchy, so plan a controlled test area or stripping where adhesion is questionable.
What’s the safest way to do a patch test before sealing the whole patio?
Choose two small, representative spots (one in sun and one in shade or near a high-splash area). Apply according to the normal method, then check after full cure for three signals: consistent color (no dark blotches), no visible hazing, and water behavior matching what you want (repeatable beading or consistent soaking depending on the product). If you see uneven tone within 24 to 48 hours, adjust prep or stop and reassess.
Should I power wash before applying rob parkers best patio sealer, or is there a risk of damaging the surface?
Power washing helps remove loose debris, but aggressive pressure can open up surfaces, lift weak mortar, or leave micro-channels that increase product consumption and uneven curing. If you do use a washer, keep it moderate, avoid concentrated nozzles, and let the patio dry thoroughly before sealing. For moss or algae, use an appropriate cleaner first, then rinse and allow extra drying time before any sealer.
How can I tell if trapped moisture is already present, before sealing?
Beyond the water test, look for signs like persistent dark areas after rain, musty odor, or efflorescence that returns quickly. If your patio shows active efflorescence, treat and dry it completely before sealing. Sealing over moisture movement often “locks in” staining and can cause patchy failure, especially on porous stone.
What should I do if I get lap marks or uneven coverage after applying the sealer?
Lap marks usually come from running short, stopping mid-section, or applying to partially drying sections. The practical fix is to let the product cure fully, then evaluate whether the unevenness is purely aesthetic or also affects water behavior. If performance is uneven, you may need a light corrective application only on the affected zones, but that depends on the product’s recoat and surface condition. Avoid trying to “wipe it back” while it’s curing unless the TDS explicitly says so.
Can I apply rob parkers best patio sealer to jointing sand between pavers or only to the stones themselves?
Penetrating sealers can change how water moves through joints, and wetting the jointing sand can lead to uneven uptake and different sheen. A common approach is to seal the paving units while minimizing product flow into joints, then do a careful check after cure. If joints are heavily filled and absorbent, consider whether you want joint protection too, and do a patch test on one joint area to confirm the look and water behavior.
Is it okay if the patio looks dry to the touch but it’s still within the 24-hour dry window?
It’s risky. “Dry to touch” doesn’t always mean the substrate has reached the right dryness for curing. If rain, morning dew, or cold nights are possible, extend your wait time. Following a minimum dry window reduces issues like hazing, uneven curing, and weaker bonding to the surface.
What’s the best way to protect nearby plants, furniture, and nearby walls during application?
Even with breathable penetrating products, overspray and drips can stain or affect finish on adjacent surfaces. Use plastic sheeting or masking for walls, cover or move planters and outdoor cushions, and work upwind when possible. Also prevent runoff from collecting in low spots by applying in controlled sections and keeping a clear path to avoid streaks.
Do I need to strip old sealer every time I recoating, or can I just clean and reapply?
You often can clean and recoat without full stripping if the existing sealer is compatible and not peeling. The water-bead test helps decide: if water behavior is still consistent and the surface isn’t showing hazing, you may be able to recoat after a thorough clean. If the surface is patchy, peeling, or shows persistent defects, you’ll usually get better results by addressing the old layer rather than layering on top.
How do I choose between penetrating and film-forming if my patio is stamped concrete?
Stamped concrete often needs a deliberate finish goal. If you want a natural look with breathability and minimal change in appearance, a penetrating sealer is a better match. If you want a wet-look sheen or enhanced color intensity, film-forming acrylics are typically the direction. Don’t switch categories mid-project, if you can avoid it, because compatibility and appearance can vary a lot between them.
How often should I reseal, and what exact observation should I use to time it?
Use the water-bead behavior as the trigger, not the calendar. When water starts soaking in instead of beading consistently, that’s your sign to plan recoating. Also check after high UV seasons, heavy foot traffic periods, and winter freeze-thaw cycles, since these can shorten intervals even when the patio looks fine.