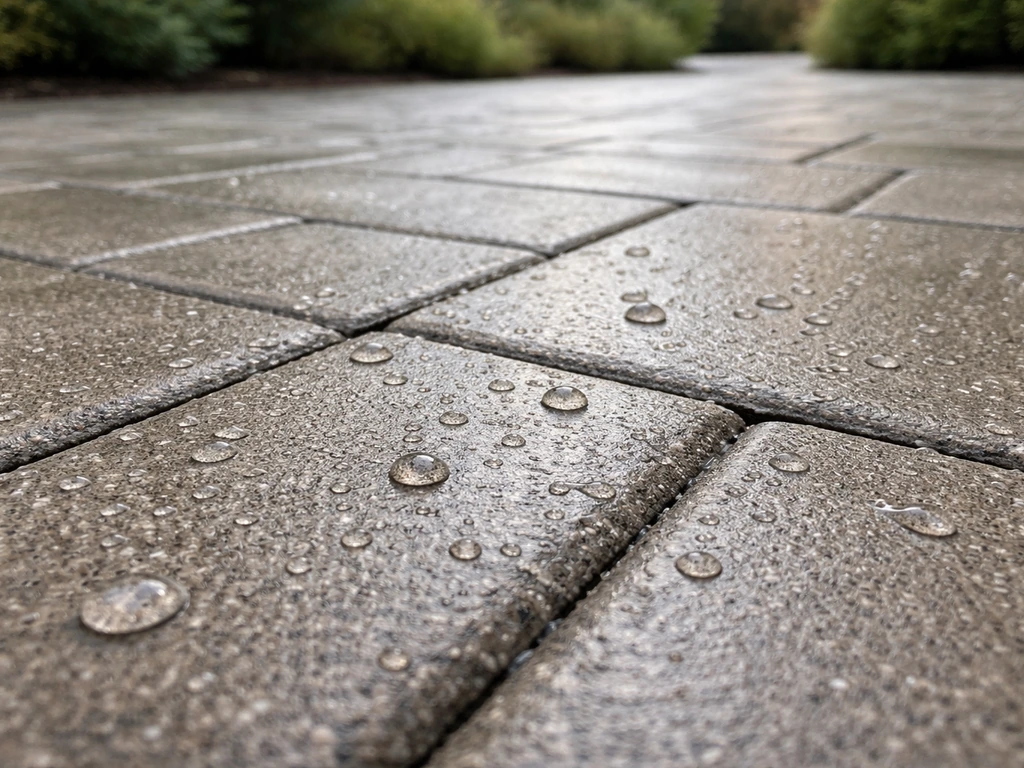
For most patios, a penetrating silane/siloxane sealer is the safest, most versatile choice: it soaks into the surface, lets moisture breathe out, handles freeze-thaw cycles without trapping water, and works on concrete, pavers, brick, and natural stone. If you want a wet-look or enhanced color finish, a water-based acrylic sealer is the next step up. Film-forming sealers like urethanes give the most durable gloss but require flawless prep and a dry surface or you will get that dreaded white haze. Which one you actually buy comes down to your patio material, your climate, and the finish you want, and this guide will walk you through all of it.
Best Patio Sealers: How to Choose, Prep, and Apply

Elise Prescott
11 May 2026
Choose the right sealer for your patio material
Not all sealers work on all surfaces. Using the wrong product is probably the single most common and expensive mistake homeowners make, so start here before you look at any brand names.
Concrete patios
Concrete is the most forgiving surface because you have the widest range of sealer types available. Penetrating sealers (silane/siloxane or siliconate) are ideal for outdoor concrete that sees rain, pooling water, or freeze-thaw cycles. They soak in, become part of the slab, and won't peel. Products like Rust-Oleum's penetrating concrete sealer cover around 250 sq. ft. per gallon in a single coat, which makes coverage math simple for most patios. If you want a glossier look or color enhancement, a water-based acrylic is a solid middle ground. Film-forming urethanes are the premium option for high-gloss results, but they require immaculate prep and a very dry slab.
Pavers and natural stone
Pavers need a sealer that addresses joint sand stabilization and weed inhibition in addition to water repellency. Products like Glaze 'N Seal's Enhanced Look Paver Sealer Plus Sand Lock cover up to 250 sq. ft. per gallon and harden the joint sand so weeds and ants can't work through it. For natural stone like travertine or slate, always use a breathable penetrating impregnator, film-forming sealers can cloud or spall porous stone. If efflorescence (those white salt deposits) is already showing up on your pavers, address the source of the moisture migration before sealing, or the salt will just push up through or around the sealer.
Brick
Brick is highly porous and needs a breathable sealer above almost anything else. A siloxane-based penetrating product is the standard recommendation. Sure Klean's Weather Seal Siloxane PD, for example, has a coverage range of 300 to 1,200 sq. ft. per gallon depending on brick porosity, that wide range is a reminder to always test a small section first. Film-forming products on brick trap moisture and cause spalling, especially if you're in a climate with hard winters.
Material-to-sealer type quick reference
| Patio Material | Best Sealer Type | Key Goal | Avoid |
|---|---|---|---|
| Concrete (plain) | Penetrating silane/siloxane or water-based acrylic | Water repellency, stain resistance | Solvent-based film formers on wet/damp slabs |
| Concrete pavers | Acrylic or urethane with sand lock | Sand stabilization, color enhancement, weed inhibition | Breathable-only penetrators if you want wet look |
| Natural stone (travertine, slate) | Breathable impregnating sealer | Water repellency without trapping moisture | Any film-forming sealer |
| Brick | Siloxane penetrating sealer | Breathability, freeze-thaw protection | Gloss film sealers — causes spalling |
| Concrete with efflorescence history | Impregnating sealer after efflorescence removal | Salt/moisture control | Sealing over active efflorescence |
Match sealer type to your climate and exposure
Where you live matters almost as much as what your patio is made of. A product that performs great in Texas heat can fail in Minnesota winters, and vice versa.
- Freeze-thaw climates (Colorado, Minnesota, the upper Midwest, New England): Use a penetrating silane/siloxane sealer. Water that gets into a film-forming sealer expands when it freezes, which causes the sealer to crack, peel, or cause the surface itself to spall. Penetrating sealers don't create that trapped-water scenario.
- High UV and heat (Texas, Arizona, Southern California): UV degrades acrylic sealers faster than penetrating products. If you use an acrylic, choose one with UV stabilizers. Penetrating sealers are inherently more UV-stable since there's no film on the surface to fade or chalk.
- Rainy and humid climates (Pacific Northwest, Gulf Coast, Southeast): Breathability is critical here. A non-breathable film sealer on a patio that stays damp will trap moisture beneath the film, causing that milky white haze. Go penetrating or choose a sealer specifically rated for high moisture environments.
- Deicing salt exposure (any northern driveway-adjacent patio): Deicing salts aggressively attack sealers. A penetrating silane/siloxane gives you the best defense, but no sealer is a magic shield — you still need to rinse off salt accumulation after winter storms.
- Pools and wet areas: Slip resistance becomes a priority alongside water protection. Look for sealers with added grip or anti-slip additives, and check the product label specifically for wet-area use.
Shop criteria: finish, performance claims, coverage, and recoat timeline
Once you know your material and climate, here's how to evaluate the actual products you'll find at the home center or online.
Finish options
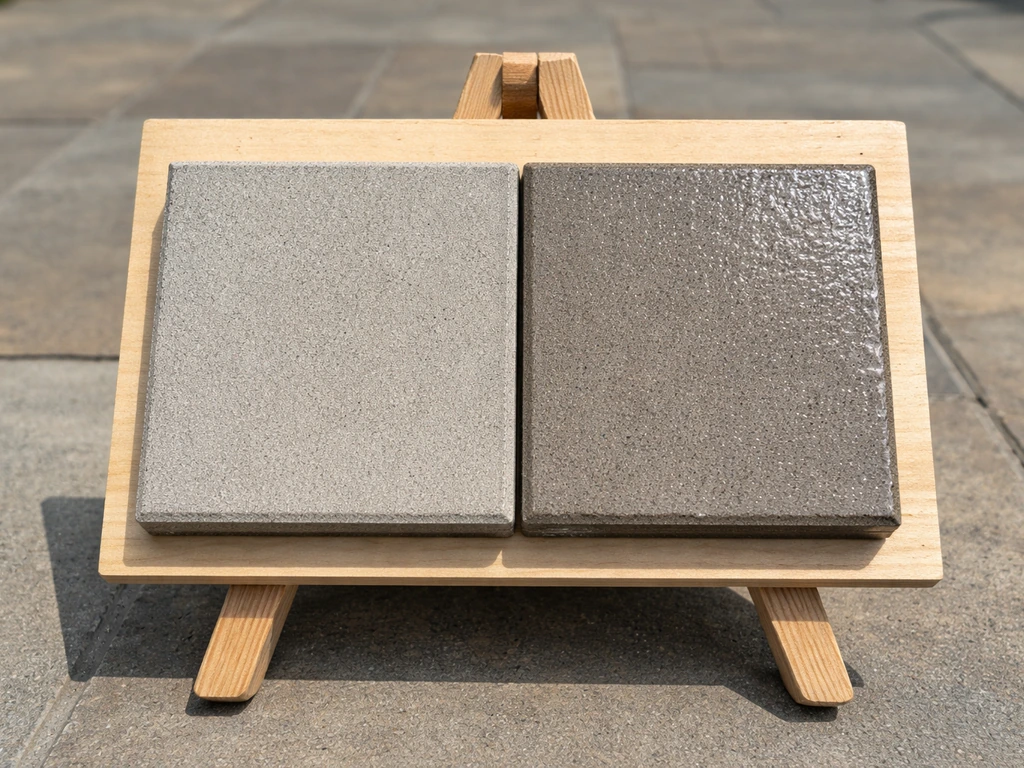
Penetrating sealers are typically invisible or very low sheen, your patio looks the same, just protected. Acrylic sealers range from matte to wet-look gloss and can deepen paver color noticeably. Urethane sealers like the H&C Pro Series urethane paver sealer deliver a high-gloss clear finish and cover 250 to 450 sq. ft. per gallon. Think about how much visual change you actually want before you commit, because going from a high-gloss sealer back to a natural look later involves stripping, which is a real project.
Performance claims to look for
Any sealer worth buying should call out water repellency explicitly. For pavers, look for joint sand stabilization and weed inhibition claims. For concrete in wet climates, look for efflorescence control and mold/mildew resistance. Products like RainguardPro's Micro-Seal claim protection against water intrusion, efflorescence, lime, spalling, freeze/thaw damage, stains, mold, and mildew, that's a strong list, and a good model for what a premium sealer should deliver. Claims around deicing salt resistance are worth noting but don't assume any sealer will fully neutralize salt damage; it just slows it down.
Coverage rates
Coverage varies enormously depending on sealer type and substrate porosity. Penetrating siloxane sealers can range from 40 to over 1,000 sq. ft. per gallon depending on how porous the surface is. Paver-specific sealers typically run 75 to 250 sq. ft. per gallon. The MasonryDEFENDER paver sealer, for example, runs 75 to 150 sq. ft. per gallon depending on porosity. Always buy based on the lower end of the coverage estimate for your first purchase, then adjust if you have material left over.
Recoat timeline and dry time
This is where a lot of DIYers get impatient and ruin an otherwise good job. Most water-based penetrating sealers have a dry time of 1 to 2 hours between coats, but some products require a full 3-hour recoat window. Film-forming urethanes like H&C's urethane paver sealer have a recoat time of about 1 hour, which sounds fast, but the full cure before traffic is longer. For reseal frequency, a general rule for paver sealers is no more often than every two years, resealing too frequently without stripping old sealer leads to buildup problems. Always check the product's specific recoat interval on the label; don't assume.
Breathability
If moisture can't escape through the sealer, it accumulates underneath and causes whitening or clouding. A breathable sealer, one described as a breathable film or penetrating impregnator, allows water vapor to move through and evaporate naturally. For any outdoor patio that isn't climate-controlled, breathability is not optional. It's the difference between a sealer that lasts three to five years and one that starts peeling in the first winter.
Surface prep checklist for long-lasting results
Prep is where most sealer jobs succeed or fail. I'd estimate that 80% of sealer failures I've seen, whitening, peeling, uneven coverage, trace back to inadequate prep, not the sealer itself. Don't skip this part.
- Clean the surface completely. Remove all dirt, grease, oil, algae, moss, and any existing sealer coating. Deep penetrating sealers specifically require the surface to be free of any prior coating, concrete paint, oil, or grease — a contaminated surface prevents proper penetration and adhesion.
- Address efflorescence before sealing. If you have white chalky deposits, treat them with an efflorescence cleaner and let the surface fully dry. Sealing over active efflorescence traps salts underneath and the problem will push back through.
- Pressure wash if needed, then wait. After washing, allow the surface to dry for at least 24 hours before applying sealer. Rust-Oleum's prep guidance specifically calls out a minimum 24-hour dry time after washing. In humid weather, wait longer.
- Do the plastic sheet moisture test. Tape a 12-inch square of plastic sheeting to the surface and leave it for 16 to 24 hours. If moisture condenses under the plastic or the concrete looks darker/wet beneath it, the surface has too much moisture for a film-forming sealer. Use a moisture-stop primer first, or choose a penetrating sealer that tolerates higher moisture.
- Check for existing sealer compatibility. If there's any old sealer on the surface, test the new product in a small inconspicuous area first. Incompatible sealers between layers can trap solvents and cause whitening or delamination. Some products include explicit label warnings to perform a compatibility test before full application.
- Check weather forecasts. Don't start a sealer job if rain is expected within 24 hours, or if temperatures will drop below 50°F or climb above 90°F during or shortly after application. Rust-Oleum specifies a working window of 50 to 90°F with relative humidity below 85%. Sure Klean's siloxane product calls for 45 to 100°F. Know your window before you open the can.
How to apply a patio sealer (DIY steps, tools, and timing)
Most patio sealers are genuinely DIY-friendly if you've done the prep correctly and you respect the application instructions. Here's how to do it right. Apply two uniform coats using a pump-up garden sprayer, and avoid puddling or ponding the sealer while it’s being applied.
Tools you'll need
- Pump-up garden sprayer (for penetrating and most acrylic sealers)
- Paint roller with 3/8-inch nap or a push broom applicator (for thicker film-forming products)
- Back brush or stiff-bristle brush (to work the sealer into grout lines and texture)
- Painter's tape and plastic sheeting to protect adjacent surfaces
- Safety glasses and chemical-resistant gloves
- A second person helps for large areas — keeping a wet edge is important
Application steps
- Stir the sealer gently — don't shake it, which introduces bubbles into film-forming products.
- Apply the first coat using a pump sprayer in a sweeping motion, then back-brush to work it in. The MasonryDEFENDER process, for example, specifically calls for a pump-up sprayer plus a back brush for even penetration.
- Apply thin, even coats. Thick application is the number one cause of white haze, bubbling, and uneven sheen. If you can pool the sealer, you've applied too much. For deep penetrating sealers like Creto, any excess or puddles must be removed during the dwell window — typically around 20 minutes — so nothing sits on the surface after penetration.
- Wait for the specified recoat time before applying a second coat. This ranges from 1 hour (some urethanes) to 3 hours (water-based membrane sealers), depending on the product. Don't rush this.
- Apply the second coat in a perpendicular direction to the first for more even coverage.
- Keep foot traffic off for at least 2 hours after the final coat. Full cure to vehicle or heavy use takes 24 to 72 hours depending on the product — check the label.
- Don't apply in direct midday sun on a hot day. The sealer can dry too fast and leave lap marks or an uneven finish.
Common mistakes, maintenance, and when to re-seal
Mistakes that kill a sealer job
- Sealing too soon after washing or rain — the number one cause of white haze and clouding is trapped moisture under the sealer film
- Applying over an incompatible existing sealer — always test compatibility in a small area first
- Applying too thick — excess sealer on the surface creates a milky, uneven layer that's hard to fix without stripping
- Ignoring temperature and humidity windows — sealers applied outside the 50 to 90°F range and below 85% RH threshold don't cure properly
- Sealing over active efflorescence — the salt will push back through or cause delamination
- Resealing too frequently without stripping old layers — buildup causes clouding and adhesion failure
What to expect the first season
A properly applied penetrating sealer is essentially invisible, your patio looks the same or slightly richer, and water beads and rolls off the surface. An acrylic wet-look sealer will noticeably deepen paver color and add sheen. Both types should bead water well through the first season. Minor scuffs or dull spots in high-traffic areas are normal after one season and don't mean the sealer has failed completely, just that those areas may need spot attention sooner.
Ongoing maintenance and re-sealing schedule
Clean your sealed patio with a mild detergent and avoid harsh acidic cleaners that can break down the sealer. For paver sealers, the guidance from most product manufacturers is to reseal no more often than every two years. Doing it annually without stripping the old sealer is how you end up with a cloudy, plastic-looking patio. The trigger to reseal isn't the calendar, it's when water stops beading on the surface and soaks in instead. That's your visual cue that the sealer has done its job and needs refreshing.
When to hire a pro and questions to ask
Most homeowners can handle sealing a standard concrete patio or paver area themselves. But there are situations where calling a contractor saves you money in the long run.
- Large areas over 1,000 sq. ft. where consistent application and wet-edge management become difficult solo
- Patios with significant existing sealer buildup that needs chemical stripping before resealing
- Active efflorescence with an unknown or unresolved moisture source — this sometimes requires drainage solutions, not just surface treatment
- Any decorative concrete surface (stamped, stained, or polished) where a mistake is expensive to fix
- Situations where the concrete slab has visible cracks, spalling, or structural issues that should be addressed before sealing
When you're interviewing contractors, ask them these questions directly: What type of sealer do you recommend for my specific material and climate, and why? What prep process do you use before applying? How long have you been sealing this type of surface? What's the warranty or guarantee on the work? A good contractor will have specific, confident answers. If they just say 'we use a quality product' without naming the product or explaining the process, keep looking.
If you're leaning toward a specific product after reading this guide, a couple of other resources worth checking: Thompson's Water Seal is one of the most widely recognized names in patio sealing, and you can find detailed Thompson patio sealer reviews to see how it stacks up against newer options. If you are considering this product, review Thompson patio sealer reviews to compare performance, coverage, and durability before you buy Thompson's Water Seal.
If you're comparing options, you can also look at Rob Parker's best patio sealer picks to match the right finish and durability to your patio type Thompson's Water Seal. If you're in the UK, note that formulations and product availability differ significantly, and a dedicated look at the best patio sealant UK options will serve you better than trying to source US products.
And if you're after a specific coating upgrade rather than a traditional sealer, the best patio coating options extend into epoxy and urethane systems that go beyond basic water protection.
FAQ
What’s the best patio sealer if I’m not sure whether my surface is concrete, pavers, or stone?
If you truly cannot confirm the material, start with a penetrating silane/siloxane-type sealer only if the surface is concrete, brick, or natural stone that accepts impregnation. For pavers, you also need joint sand stabilization and weed inhibition, so using a plain concrete siloxane can leave joints vulnerable. Your safest next step is a water drop test, then a small concealed test patch to check for haze, color change, and how fast water darkens the substrate.
How do I know if my patio sealer is still working, without waiting for failure?
Use the water beading test after the first season. After cleaning the area, splash water or use a garden sprayer and watch whether it beads and rolls off within minutes. If the water soaks in and the surface darkens uniformly instead of beading, it’s time for reseal or spot treatment, not based on calendar.
Can I apply a sealer over existing sealer if the surface looks okay?
It depends on whether the old layer is breathable. Film-forming acrylic or urethane layers can trap moisture and create whitening or buildup when new product goes on top. The practical approach is to do a small test patch and confirm water vapor breathability and no clouding, then decide whether stripping is required.
What’s the difference between “breathable” and “not breathable,” and why does it matter outdoors?
A breathable penetrating impregnator allows vapor to escape, so moisture trapped during rain or night temperature swings can evaporate. If a non-breathable film traps moisture under the coating, you can see whitening or clouding and, on porous surfaces like brick, spalling in freeze-thaw climates. This is one of the biggest reasons choosing “wrong type” for brick or stone leads to early failure.
Do I need to worry about efflorescence before sealing pavers?
Yes. If white salt deposits are already present, sealing over them without correcting moisture migration usually just pushes the salts through or around the coating. Before sealing, identify and fix the source of water movement, improve drainage, and let the pavers dry completely, then test a small area before coating the whole patio.
How can I prevent the white haze problem some sealers cause?
White haze usually comes from applying film-forming products on imperfectly prepped or insufficiently dry surfaces, or when moisture gets trapped beneath the film. To prevent it, follow the label’s recoat and cure times exactly, avoid sealing over damp areas, and do a small test spot to verify the finish does not cloud.
What’s the best way to prep a patio before sealing to avoid peeling and uneven coverage?
First remove growth and contaminants, then confirm the surface is fully dry before application. Next, repair any spalled concrete or loose joint sand so the sealer bonds to sound material. Finally, avoid over-wetting during cleaning, because remaining moisture is a common cause of patchy curing and early breakdown.
How many coats should I use, and does “more coats” make it last longer?
More coats does not always extend lifespan, especially if you create buildup that prevents breathability or changes how the sealer wears. Many penetrating products are designed for one coat at the stated coverage, then a second coat only when the label requires it and the surface can accept it. Always use the label’s coat count and recoat timing, not a generic rule.
Is it true that resealing too often is worse than waiting?
Often yes. Resealing annually without stripping can cause buildup, reduced water repellency performance, and cloudy or plastic-looking results, especially with acrylic systems. Use the water beading cue instead of the calendar, and if the surface stops beading, consider whether a full strip is necessary before reapplying.
What’s the safest finish choice for freeze-thaw climates?
For outdoor cold regions, penetrating silane/siloxane is usually preferred because it handles moisture cycles without sealing water in. Film-forming sealers can increase risk if moisture cannot escape. If you want gloss, plan for careful prep and verify the product is explicitly rated for freeze-thaw on your exact surface type.
Will a sealer stop weeds completely between paver joints?
Most sealers reduce weed growth by stabilizing joint sand and inhibiting germination, but they usually do not eradicate existing deep-rooted weeds. You still need to remove current weeds and address the joint condition, then reseal when performance fades. For heavy weed pressure, joint sand replacement and weed barriers may be part of the prep strategy.
How should I clean a patio after it’s sealed without ruining the coating?
Use mild detergent and avoid harsh acidic cleaners, since acids can break down surface protection. If you notice areas where water no longer beads, treat those zones selectively instead of scrubbing aggressively. Also allow enough drying time after washing before any water exposure or touch-up sealing.
When is it worth hiring a contractor instead of doing it yourself?
Consider hiring help if your patio has existing coating buildup that may require stripping, if large areas need consistent application in tight weather windows, or if you cannot confirm the substrate type. A good contractor should specify the exact sealer chemistry and prep steps for your material and climate, and provide a warranty tied to workmanship, not just product supply.