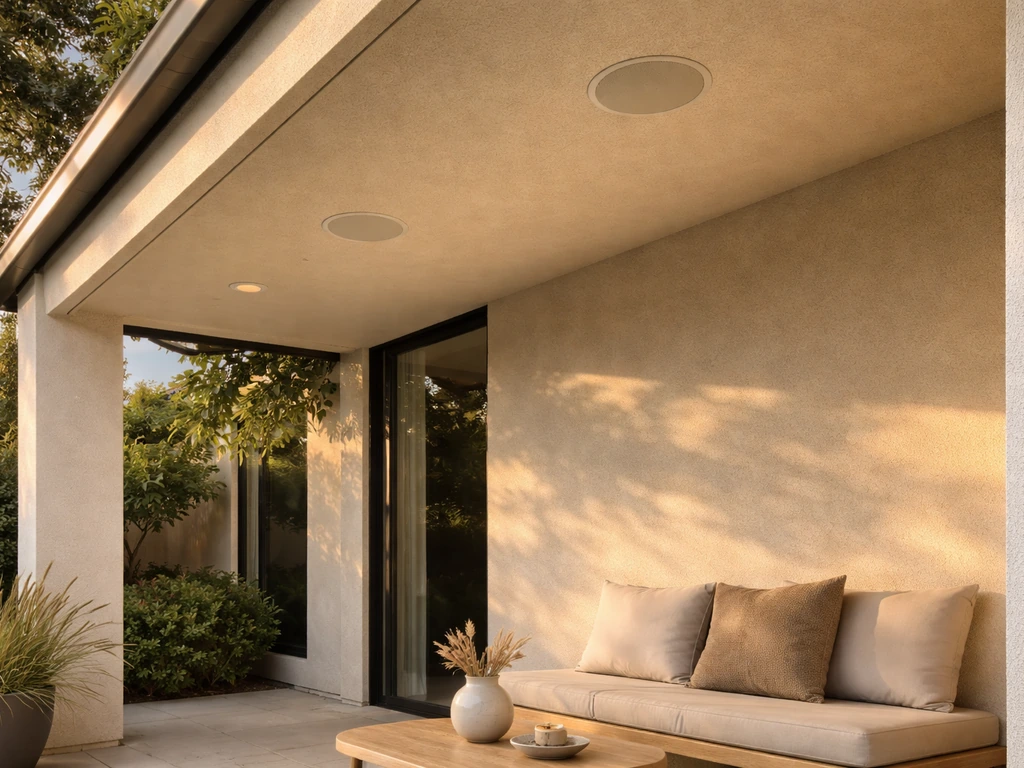
For most patios, a pair of 6.5-inch outdoor-rated in-ceiling speakers with at least 88 dB sensitivity, IP65 or higher weatherproofing, and UV-resistant components will cover a 200 to 300 square foot space cleanly at conversational-to-party volume. The critical word is outdoor-rated: a standard indoor in-ceiling speaker will corrode, warp, or fail within one humid summer, no matter how protected your patio feels. Get the weatherproofing right first, then worry about sound quality.
Best In-Ceiling Speakers for Outdoor Patio: How to Choose

Elise Prescott
12 Jun 2026
How to choose outdoor in-ceiling patio speakers
The three specs that actually matter for patio use are driver size, power handling, and sensitivity. Driver size (typically 6.5 inches for residential patios) controls how much low-end warmth you get and how wide the speaker's coverage cone is at ceiling height. Power handling tells you how much amplifier wattage the speaker can safely absorb, but sensitivity is honestly the more important number for most homeowners.
Sensitivity is measured in decibels at 2.83 volts at one meter (dB @ 2.83V/1m). A speaker rated 89 dB sensitivity will be noticeably louder than one rated 86 dB at the exact same amplifier power setting. Outdoors, sound dissipates fast, so every dB of sensitivity you can get is working in your favor. Aim for 88 dB or higher for open or semi-open patios. Indoor models often sit at 85 to 87 dB, which sounds fine in a living room but feels thin outside.
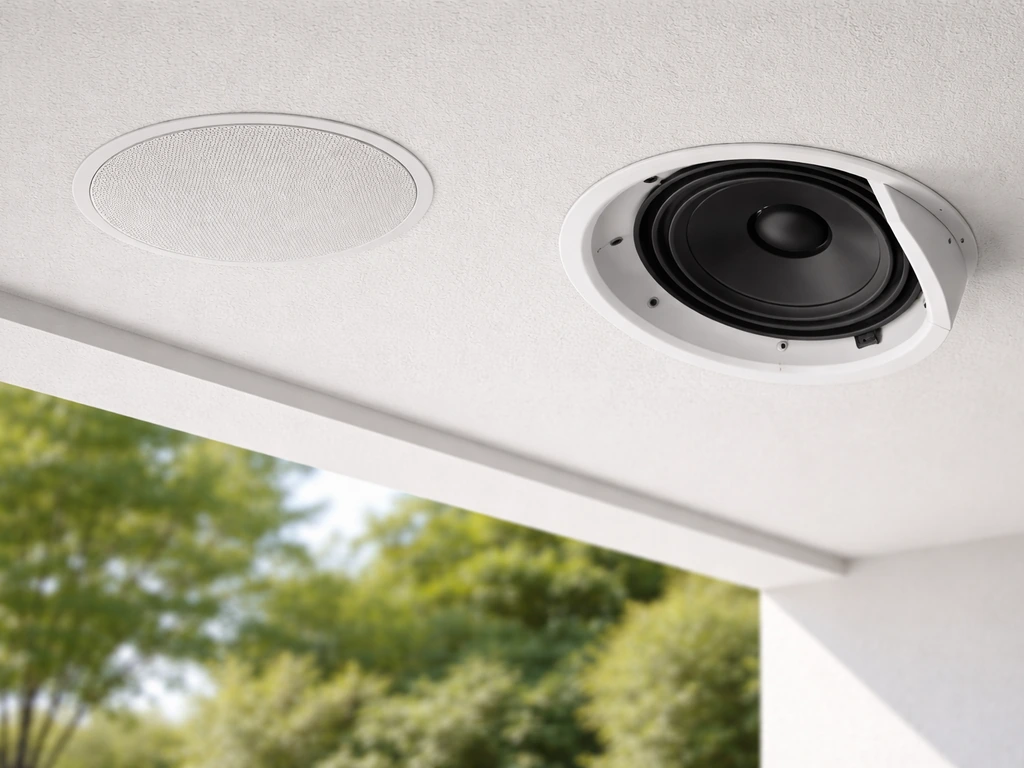
Coverage is the other piece most people overlook. In-ceiling speakers project a cone of sound based on their dispersion angle and your ceiling height. The higher the ceiling, the wider the coverage circle at ear level, but also the quieter it gets. A basic rule of thumb: for an 8-foot ceiling with a typical 90-degree dispersion speaker, you get roughly a 6 to 8 foot coverage radius before the sound starts to drop off noticeably. For a 10 to 12 foot patio ceiling (common with pergolas and covered patios), plan on spacing two speakers roughly 8 to 10 feet apart and aim for about 50 percent overlap between coverage zones to maintain even sound across the whole area.
| Ceiling Height | Approx. Coverage Radius | Recommended Speaker Spacing |
|---|---|---|
| 8 ft | 6–8 ft | 8–10 ft apart |
| 9–10 ft | 7–9 ft | 10–12 ft apart |
| 11–12 ft | 9–11 ft | 12–14 ft apart |
For most standard covered patios under 400 square feet, two speakers is the right answer. Bigger spaces, L-shaped patios, or areas with a lot of ambient noise (pool pumps, wind, street traffic) will benefit from four speakers in a grid layout rather than cranking two speakers to their limits.
Weatherproofing: what the ratings actually mean
This is where most in-ceiling speaker purchases go wrong. IP ratings are a two-digit code where the first digit covers solid particle protection (dust) and the second covers water. For outdoor patio use, you want at minimum IP65, which means total dust protection and resistance to low-pressure water jets from any direction. If your patio is near a pool, in a coastal environment with salt air, or in a region with heavy rain and misting (think Florida, Houston, or the Pacific Northwest coast), go straight to IP66.
- IP55: Protected against dust and low-pressure water jets; fine for covered patios in dry or moderate climates
- IP65: Fully dust-tight and water jet resistant; the minimum for most outdoor patio installs
- IP66: Fully dust-tight and protected against powerful water jets; best for poolside, coastal, or high-humidity regions
- IPX5/IPX6: Water-only ratings (no dust digit); common on some architectural speaker lines like certain Klipsch PIC models
Beyond the IP rating, look specifically for UV resistance certification. A speaker grille and baffle exposed to direct or indirect sun will yellow, crack, and become brittle within two or three seasons without UV protection. The Focal Littora 200 ICW6, for example, lists UV resistance tested to ASTM G53 standards alongside its IP65 certification. That combination matters in southern states where UV exposure is relentless year-round.
Salt and mist resistance matters most in coastal installs. Speakers with internal components that are not sealed or coated will corrode quickly in salt air even if the IP rating looks fine on paper. The Sonance VP Extreme line specifically calls out marine-grade weatherproof materials alongside its IP66 rating, which is the kind of detail worth paying attention to if you are within a few miles of the ocean. Stainless steel or powder-coated aluminum grilles are a must in those environments.
Mounting hardware is another overlooked detail. Standard drywall clips and plastic mounting tabs are not designed for outdoor temperature swings. Look for speakers that include stainless or rust-resistant dog-leg mounting brackets and check that the backcan or enclosure (if included) is rated for outdoor use. An open-back speaker installed in an exposed patio ceiling cavity without any backcan is an invitation for moisture, insects, and debris to degrade the driver over time.
Sound quality basics: what makes a patio speaker actually sound good

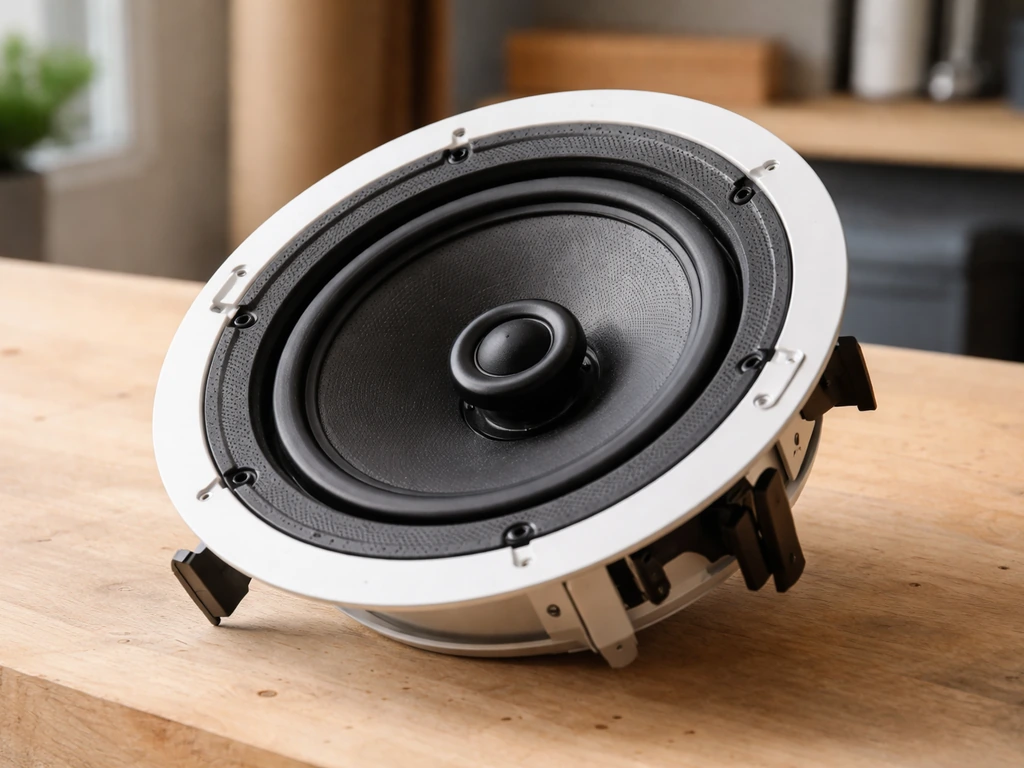
Most outdoor in-ceiling speakers use a 2-way design: a woofer handling midrange and bass, and a tweeter handling the highs. For a patio, this is exactly what you need. For the best patio speakers, prioritize outdoor-rated in-ceiling models with high sensitivity, even coverage, and proper weatherproofing. A 6.5-inch woofer paired with a 1-inch tweeter (like the aluminum dome tweeter in the Focal Littora 200 ICW6) gives you a frequency range that covers music, speech, and ambient background audio without needing a dedicated subwoofer for normal use.
Impedance matters when you are wiring multiple speakers to one amplifier. Most residential in-ceiling speakers are 8-ohm nominal, which is the easiest to work with. Running two 8-ohm speakers in parallel drops the load to 4 ohms, which most stereo amplifiers and receivers can handle. Go below 4 ohms total and you risk overheating or damaging your amp. The Focal Littora 200 ICW6 specs out at 8 ohms nominal (with a minimum of 4.2 ohms at 150 Hz), and the Definitive Technology Dymension CI PRO series includes 6-ohm variants, so double-check your amplifier's minimum impedance rating before buying.
Tweeter aiming is a small but impactful installation detail. Many 2-way in-ceiling speakers have a rotatable tweeter that you can angle toward a wall or seating area. For patios where people are seated against one side (say, a dining area), aiming the tweeter toward the nearest reflective surface creates a more diffuse, natural-sounding stereo image rather than direct, focused sound that feels harsh up close. Definitive Technology’s DT series in-ceiling installation guide also recommends aiming the tweeter toward the nearest reflective surface to help create a more diffuse sound. It is worth spending five minutes getting this right during installation.
Planning the install before you buy a single speaker
Placement and wiring planning should happen before you order anything. Walk your patio and mark where people actually spend time, where seating clusters, and where ambient noise sources are (AC units, pool equipment, street). Those spots tell you where coverage matters most. Speakers centered over a dining table or seating group almost always sounds better than speakers centered on the ceiling geometrically.
Wiring and amplifier basics
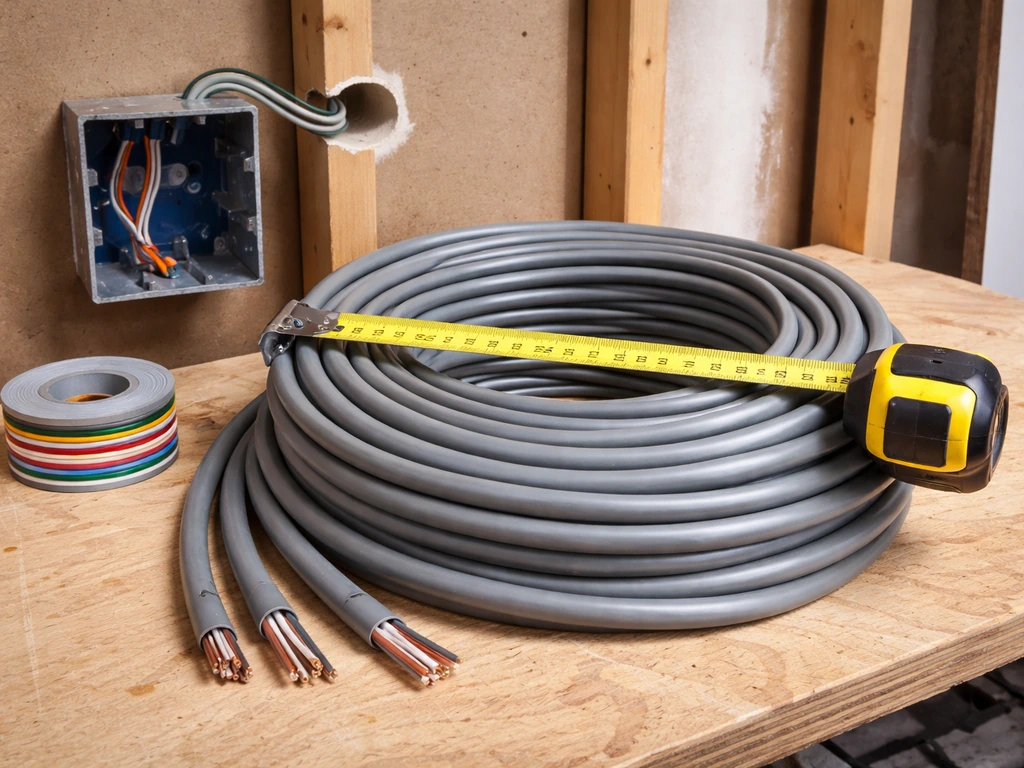
Use CL2 or CL3 rated speaker wire for any run inside walls or ceilings. This is not optional; NEC Article 725 requires it for in-wall and in-ceiling low-voltage wiring in residential construction. For outdoor runs that are exposed or that pass through conduit to a junction box, look specifically for wire rated for outdoor or direct burial use. Standard CL2 wire is fine inside the ceiling cavity but should not be left exposed to UV or moisture at connection points.
Wire gauge matters for longer runs. 16-gauge wire handles runs up to about 50 feet cleanly for 8-ohm speakers. For runs over 50 feet, step up to 14-gauge to avoid resistance losses that rob you of volume and bass. Keep all outdoor wire terminations in weatherproof junction boxes with proper gel-filled connectors or marine-grade wire nuts, not standard indoor twist connectors that will oxidize and fail.
Amplifier or receiver: which do you need?
In-ceiling speakers are passive, meaning they need an external amplifier or AV receiver to power them. For a basic two-speaker patio setup, a compact stereo amplifier rated 50 to 100 watts per channel at 8 ohms is plenty. A good outdoor patio speaker setup also includes sensible placement, correct wiring, and an amplifier that matches your speaker load. Brands like Sonos Amp, Yamaha, and Denon make dedicated amplifiers that stream wirelessly and power two or four passive speakers cleanly. If you are already running whole-home audio, zoning your patio as a separate output on your existing multi-room system is the cleanest approach.
If you plan to wire more than two speakers, think about zoning from the start. A two-zone setup (say, covered dining area and open lounge area) lets you control volume independently in each space. This requires either a multi-zone amplifier or a speaker selector/impedance-matching volume control. Getting the impedance math right matters here: always verify that your total speaker load at the amplifier's output stays above its minimum impedance rating.
Top picks by use case
These recommendations are grouped by budget and use case, not by brand loyalty. All of the models below are specifically outdoor-rated with verified IP certifications, which is the non-negotiable starting point.
Budget pick: Klipsch PIC series (IPX5/IPX6)
The Klipsch PIC series is the most accessible entry point for outdoor in-ceiling audio. The PIC-450-T and PIC-800-SW-T models carry IPX6 ratings, and Klipsch's horn-loaded tweeter design gives these speakers above-average sensitivity for the price, which is genuinely useful outdoors. These are best for covered patios in moderate climates where salt air and standing water are not concerns. If you are in the dry Southwest, Midwest, or have a well-covered patio in most regions, the PIC series delivers solid performance at roughly half the cost of mid-tier options.
Midrange pick: Definitive Technology Dymension CI PRO or DC-80 MAX SUR (IP55)
The Definitive Technology Dymension CI PRO series and the DC-80 MAX SUR are IP55-rated options with strong frequency response specs (31 Hz to 30 kHz at -10 dB on some models) and 88 to 89 dB sensitivity. The 6-ohm nominal impedance is worth noting for amp matching, but most quality receivers handle it without issue. These are a great fit for homeowners who want noticeably better sound quality than budget models without jumping to audiophile pricing. Ideal for covered or semi-covered patios in most U.S. climates. The DC-80 MAX SUR is the stronger performer of the two if your budget allows.
Premium pick: Focal Littora 200 ICW6 and Sonance VP Extreme (IP65/IP66)
The Focal Littora 200 ICW6 is the best all-around in-ceiling speaker for patios where sound quality is a priority. IP65 rated with UV resistance (ASTM G53 tested), a 6.5-inch driver, 1-inch aluminum dome tweeter, 89 dB sensitivity, and 8-ohm impedance, it covers all the technical bases cleanly. The indoor/outdoor crossover switch is a useful detail that lets you tune the bass response based on whether your patio is acoustically more open or more enclosed. At a mounting depth of just under 4 inches, it also fits in most standard ceiling cavities.
The Sonance VP XT6R SST from the VP Extreme line is the choice for coastal installs, poolside applications, or any environment with serious moisture and salt air exposure. IP66 rated with marine-grade materials and a rugged grille retention system, it is genuinely built for the worst outdoor conditions. If you live near the ocean or have an uncovered patio in a high-humidity climate like Florida or the Gulf Coast, this is the speaker to buy. It costs more, but replacing a failed speaker pair every two years costs more in the long run.
| Model | IP Rating | Sensitivity | Impedance | Best For |
|---|---|---|---|---|
| Klipsch PIC-450-T / PIC-800-SW-T | IPX6 | High (horn-loaded) | 8Ω | Budget, covered patio, moderate climate |
| Def. Tech Dymension CI PRO / DC-80 MAX SUR | IP55 | 88–89 dB | 6Ω | Midrange, most U.S. climates, covered patio |
| Focal Littora 200 ICW6 | IP65 + UV | 89 dB | 8Ω | Premium, semi-exposed, southern/UV-heavy regions |
| Sonance VP XT6R SST | IP66 | Competitive | 8Ω | Coastal, poolside, high-humidity, marine environments |
DIY vs hiring a pro: honest guidance
Running speaker wire through an existing covered patio ceiling and cutting mounting holes is genuinely DIY-friendly if you are comfortable with basic hand tools and have attic or crawl space access above the ceiling. The actual speaker installation (cutting the hole, fishing wire, connecting terminals, snapping in the speaker) takes most homeowners about two hours per speaker on a first attempt. That is completely manageable.
Where DIY goes wrong outdoors is in the waterproofing details. Running wire through a wall to reach an outdoor amplifier location means creating a penetration point that needs to be properly sealed. Uncaulked or improperly sealed penetrations let water and insects in, and in cold climates they become a path for freezing air that can damage insulation and drywall over time. If you are cutting through an exterior wall or running wire from an interior location to the outdoors, use a weatherproof wall plate and seal every penetration with outdoor-rated silicone.
Permit requirements vary. Many jurisdictions treat low-voltage speaker wire as exempt from electrical permit requirements, but if you are having a new amplifier circuit added (a dedicated 120V outlet for the amp), that typically does require a permit and licensed electrician. Check with your local building department before starting. Some HOAs also have restrictions on exterior modifications that could technically include ceiling speakers visible from outside the property.
Hire a pro if your patio ceiling is stucco, concrete, or tile (cutting those materials cleanly requires specialized tools), if you need to run conduit through finished exterior walls, or if you want a multi-zone system with custom volume controls and impedance matching. A custom AV installer will typically charge $150 to $300 per speaker for labor including wiring, which is fair for a clean, guaranteed result. Ask specifically whether they have experience with outdoor-rated speakers and whether they use CL2/CL3 wire and weatherproof terminations. Contractors who mostly do indoor home theater installs sometimes cut corners on outdoor waterproofing details.
Keeping them working: maintenance, troubleshooting, and upgrades
Outdoor in-ceiling speakers require almost no ongoing maintenance if they were installed correctly. Once or twice a year, check the grilles for debris, spider webs, or insect nests. A blast of compressed air or a soft brush handles 99 percent of cleaning needs. Do not pressure wash grilles directly even on IP66 speakers. The rating covers outdoor water exposure, not sustained direct spray.
If you start hearing distortion, buzzing, or one speaker dropping out, the most common culprits in order of likelihood are: a loose or corroded wire connection at the speaker terminal, a failed amplifier channel, a water-damaged driver, or an insect nest inside the speaker cavity. Check wire connections first before assuming the speaker itself has failed. Corroded terminals can usually be cleaned with fine sandpaper and reseated. If the woofer cone has visible deformation or the tweeter dome is collapsed, the driver is done and needs replacement or the speaker needs to be swapped out.
For volume that is not quite hitting the mark, try increasing amplifier power before buying new speakers. Moving from a 40-watt-per-channel amp to an 80 or 100-watt model adds roughly 3 dB of headroom, which is audible outdoors. Adding a second pair of speakers in the coverage gap areas is often more effective than upgrading a single pair to a higher-end model.
If you want to expand from a simple two-speaker stereo setup to a full outdoor audio zone with independent volume control, adding an impedance-matching speaker selector is the most practical upgrade path without rewiring everything. Pairing your in-ceiling speakers with a streaming amplifier like the Sonos Amp or a Denon HEOS-enabled model also opens up whole-home audio integration without pulling new wire. And if you find yourself wanting screen and picture alongside the sound, an outdoor patio TV setup or projector for the patio becomes a natural next step once your audio foundation is solid. For the best patio music experience, prioritize outdoor-rated speakers and tune placement, sensitivity, and coverage to how your space is actually used. Once you know your speaker setup, choosing the best outdoor patio projector will help you get clear, bright images in the same conditions outdoor patio TV setup or projector. If your patio speakers or streaming amp are farther from your router, choosing the best wifi extender for patio use can help keep audio streaming stable outdoors. Once you have the right speakers in place, the next step in your outdoor entertaining plan is matching the TV setup to your mounting and viewing angles an outdoor patio TV setup.
FAQ
Can I install indoor in-ceiling speakers under a covered patio if they are mostly shaded?
Even with shade, indoor speakers are not designed for UV exposure, humidity cycles, or salt air. If the speaker is not explicitly outdoor-rated with a verified IP score and UV-resistance, it is only a matter of time before the baffle, surrounds, or terminals corrode or warp.
What ceiling height changes should I account for beyond the 8-foot rule of thumb?
As ceilings get taller, you usually need either more spacing adjustments (more speaker positions) or more overlap to keep volume from falling off at seating level. If your patio is 10 to 12 feet high and you only use two speakers, expect a “hot” center zone and quieter edges unless you increase coverage overlap.
How do I choose between 2 speakers and 4 speakers for an L-shaped patio?
Use 4 speakers when there is a bend or separate seating clusters where listeners are not in the line of fire from two opposite speakers. A practical approach is a grid that targets each arm of the L, aiming for overlap so people seated around corners still hear balanced sound.
Do I really need an outdoor amplifier, or can I place an indoor amp and run wires out?
You can use an indoor amplifier if it is kept in a dry, temperature-stable location, but you still must run properly rated wire and seal every exterior penetration. The amplifier does not remove the need for weatherproof terminations, and moisture intrusion at wall or ceiling pass-throughs is a common failure point.
What IP rating should I use if my patio gets mist from a sprinkler system or heavy rain blowback?
For misting and splash from multiple directions, IP66 is the safer choice. IP65 is fine for light rain and occasional water jets, but misting plus splashback (especially near landscaping or sprinklers) increases the chance of water getting into speaker cavities and connections.
If a speaker is IP66, can I pressure-wash the grilles to clean them?
No. The rating covers exposure, not direct sustained high-pressure spray. Use a soft brush or compressed air, and remove debris manually if needed, since high pressure can force moisture into gaps and damage the driver or tweeter assembly over time.
Should I add a backcan, and what happens if I do not?
A backcan (or an enclosure rated for outdoor use) helps block moisture and insects from entering the cavity above the ceiling. If you install an open-back speaker in an exposed ceiling cavity, you are creating an access point for debris and damp air, which can degrade the driver and cause intermittent issues.
How can I tell if my amp might be incompatible with my speaker impedance?
Check your amplifier’s minimum impedance rating and confirm the wiring type. For example, two 8-ohm speakers in parallel can load the amp down to 4 ohms, which many amps tolerate but not all. If you are using any 6-ohm nominal model or mixing models, verify the total minimum load before wiring.
What is the safest wiring plan for longer patio runs?
For long distances, reduce resistance losses by using the right gauge (for example, 16-gauge under about 50 feet for 8-ohm systems, then step up to 14-gauge for longer runs). Also keep outdoor terminations in weatherproof junction boxes with corrosion-resistant connectors, since oxidation at the connection is a frequent cause of distortion.
Is CL2 or CL3 wire required even for in-ceiling outdoor speaker wiring?
If the cable runs through in-wall or in-ceiling locations in residential construction, CL2 or CL3 rated speaker wire is typically required by electrical code. For any run exposed to outdoor conditions, use wire rated for outdoor use or direct burial as appropriate, and never leave UV-exposed cable at a connection point.
Do I need to aim tweeters for every installation?
If your seating is mostly along one side, aiming the tweeter toward the nearest reflective surface often creates smoother stereo imaging and reduces harshness up close. If seating is evenly distributed, aiming toward the seating area center can be enough, but angled placement matters more on patios than in living rooms.
My speakers sound distorted outdoors, what should I troubleshoot first?
Start with the physical electrical chain: check for loose or corroded terminals at the speaker and in junction boxes. After that, test amplifier channel operation and inspect for insect activity or water damage in the speaker cavity, since driver failure is usually less common than wiring or amp faults.
Will adding more amplifier power always improve outdoor loudness?
It improves headroom, but it does not fix poor placement, incorrect wiring gauge, or water-damaged drivers. If you currently run out of clean volume, moving from a lower-watt amp to a higher-watt unit can add audible headroom, but adding a second pair in the coverage gap is often the bigger win.
How do I maintain outdoor in-ceiling speakers in the real world (insects, pollen, grime)?
A quick seasonal check for debris and spider webs prevents clogged grilles and trapped moisture. Avoid pressure washing, and if pollen is heavy, use a gentle brush and short compressed-air bursts. If you notice repeated insect nests, you may need to improve sealing around the mounting area or add mesh barriers where appropriate.
Are there HOA or permit pitfalls specific to outdoor in-ceiling speakers?
Yes. Even if low-voltage cabling is often treated leniently, any new exterior outlet, panel work, or conduit can trigger permits and electrician involvement. Also, some HOAs restrict visible roof or exterior modifications, so confirm whether speaker grilles and any exterior amplifier location are allowed before cutting holes.